
Actually back in the shop!
It’s been a long time in coming, but I’ve been out in the shop a bit recently. I’m not working on knives at the moment, but I’ve been playing with something that I’ve been meaning to work on for a while; seamless pattern welded rings. These aren’t rings for your finger either, they are bangle bracelets. The same process works just as well in smaller pieces like finger rings, but I’ve never been one to start small.
Here’s a little overview of how I’ve been making these. Unfortunately I’m missing photos for a few steps, but I’ll explain as I go and hopefully it will make sense.
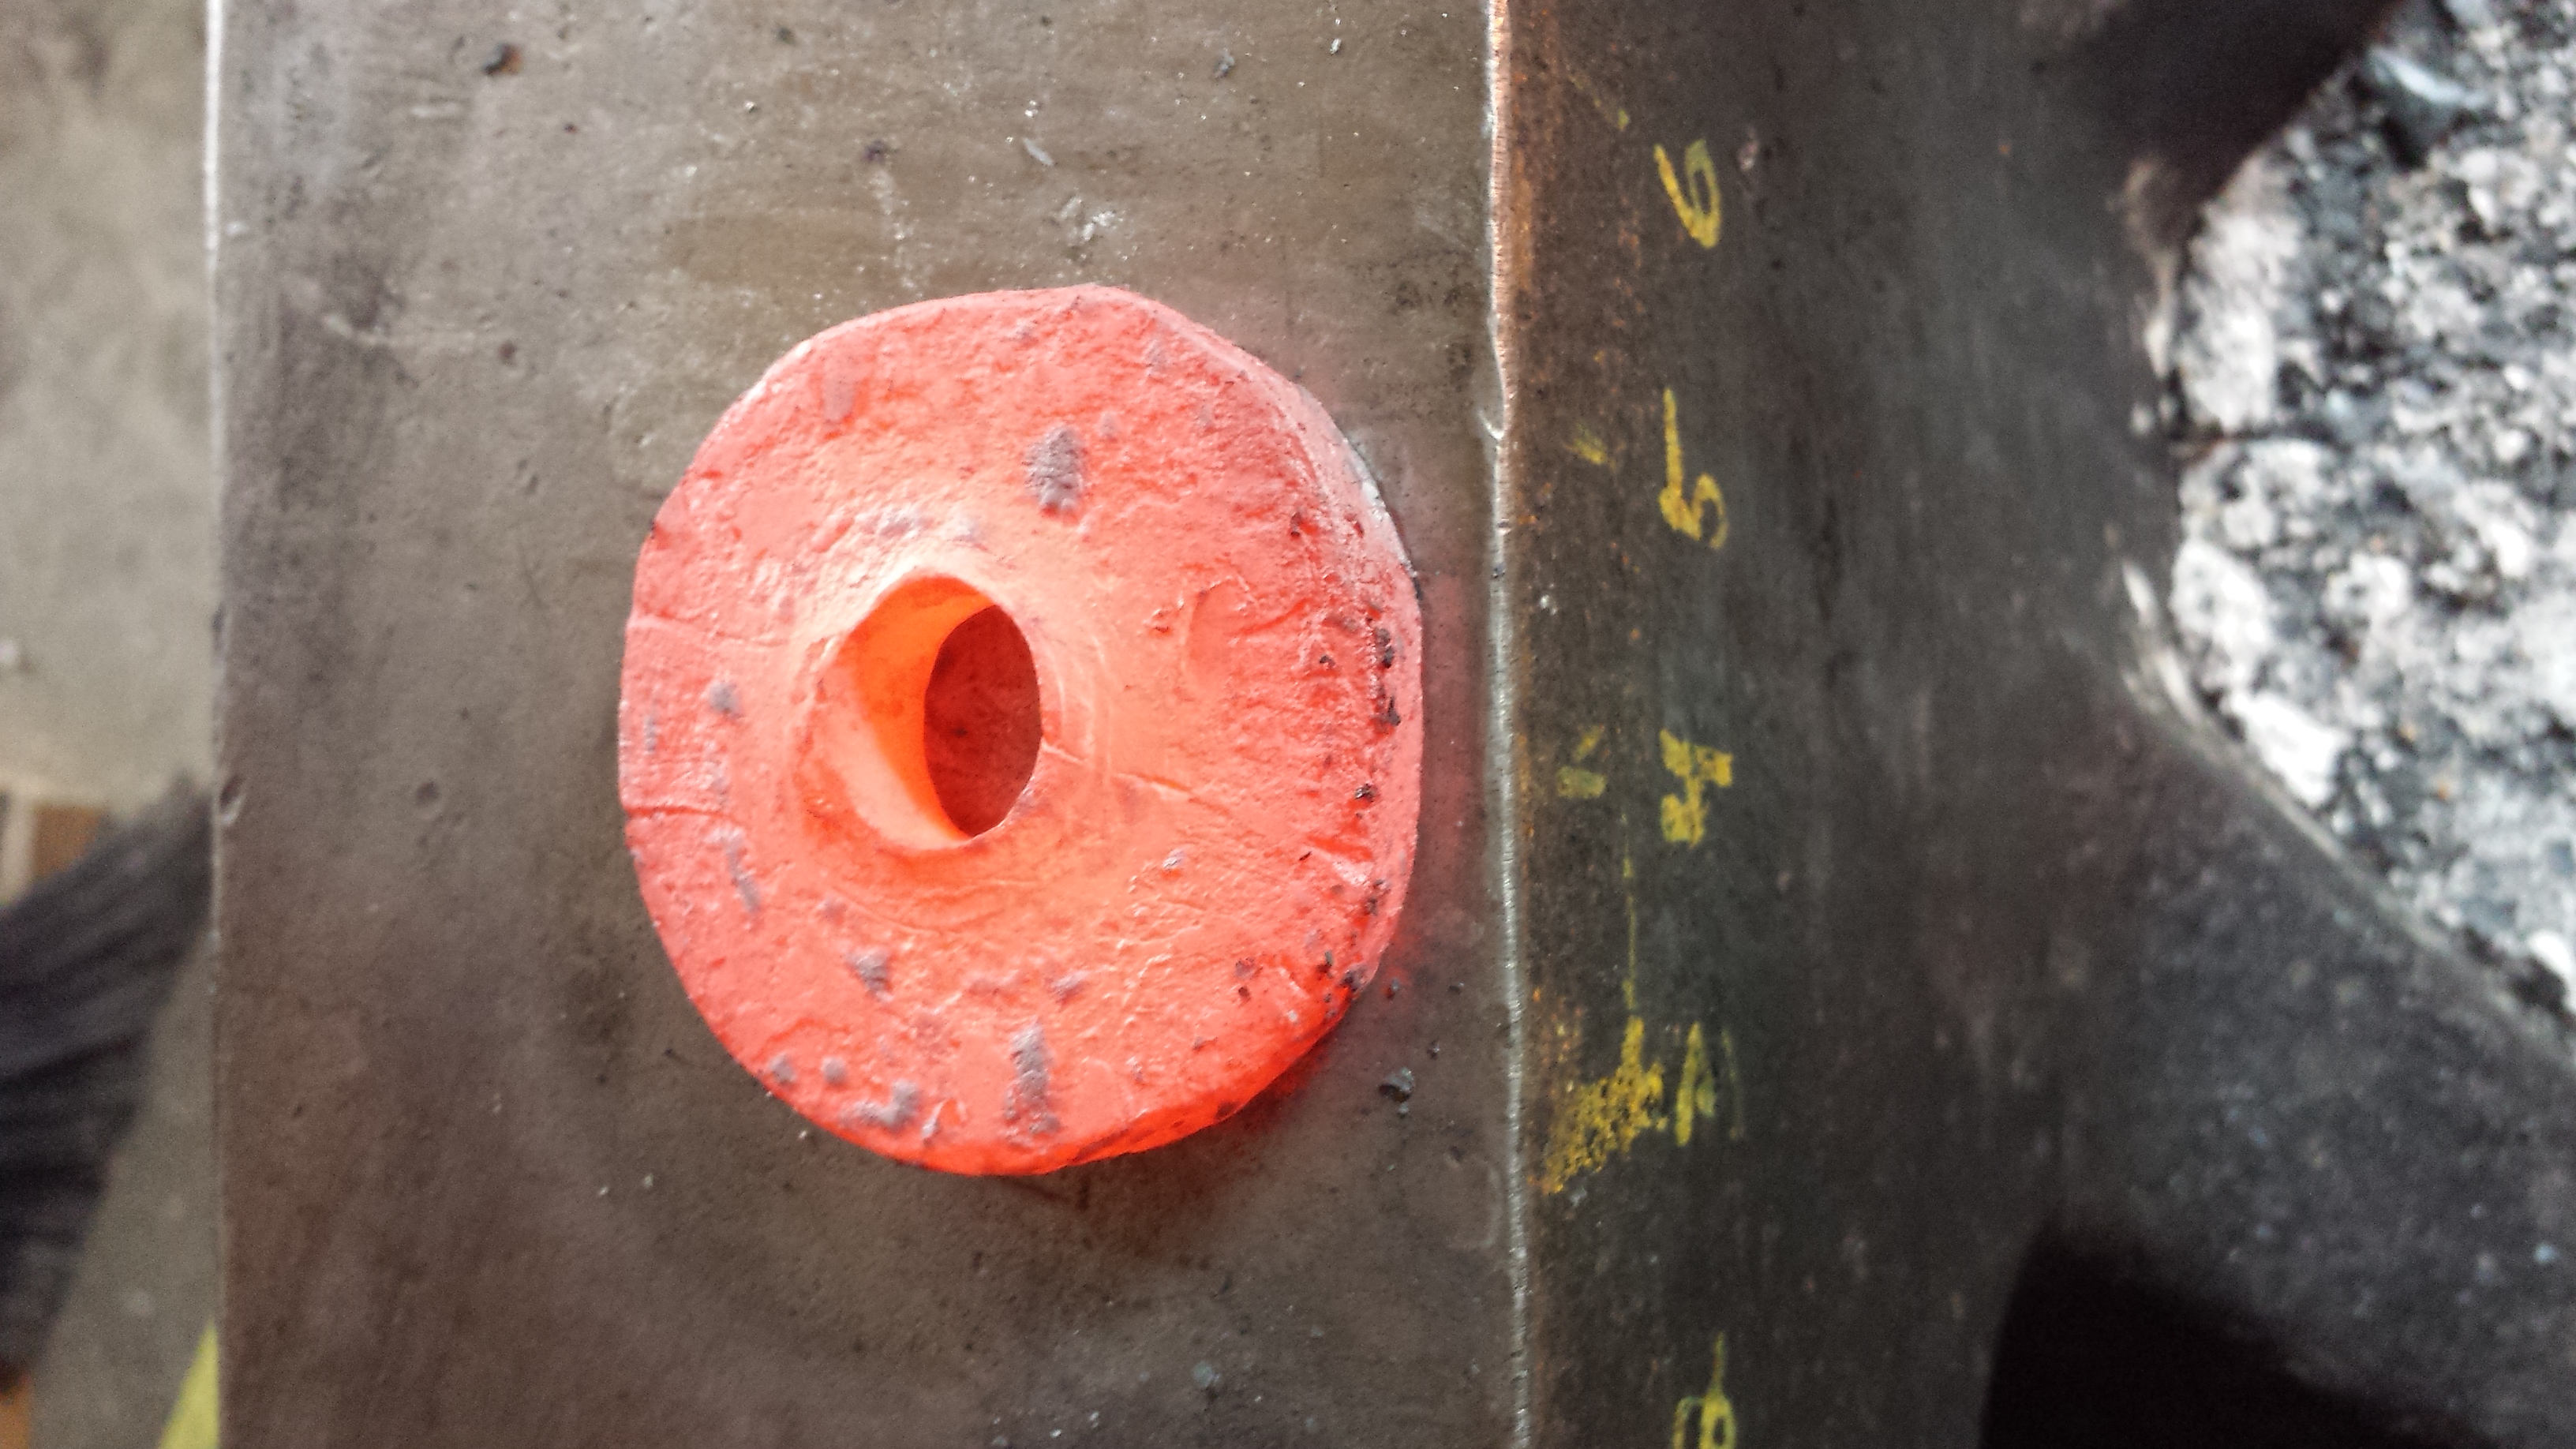
I start out with a piece of pattern welded bar that I can forge into a 2″ or so diameter round about 3/8″-1/2″ thick.
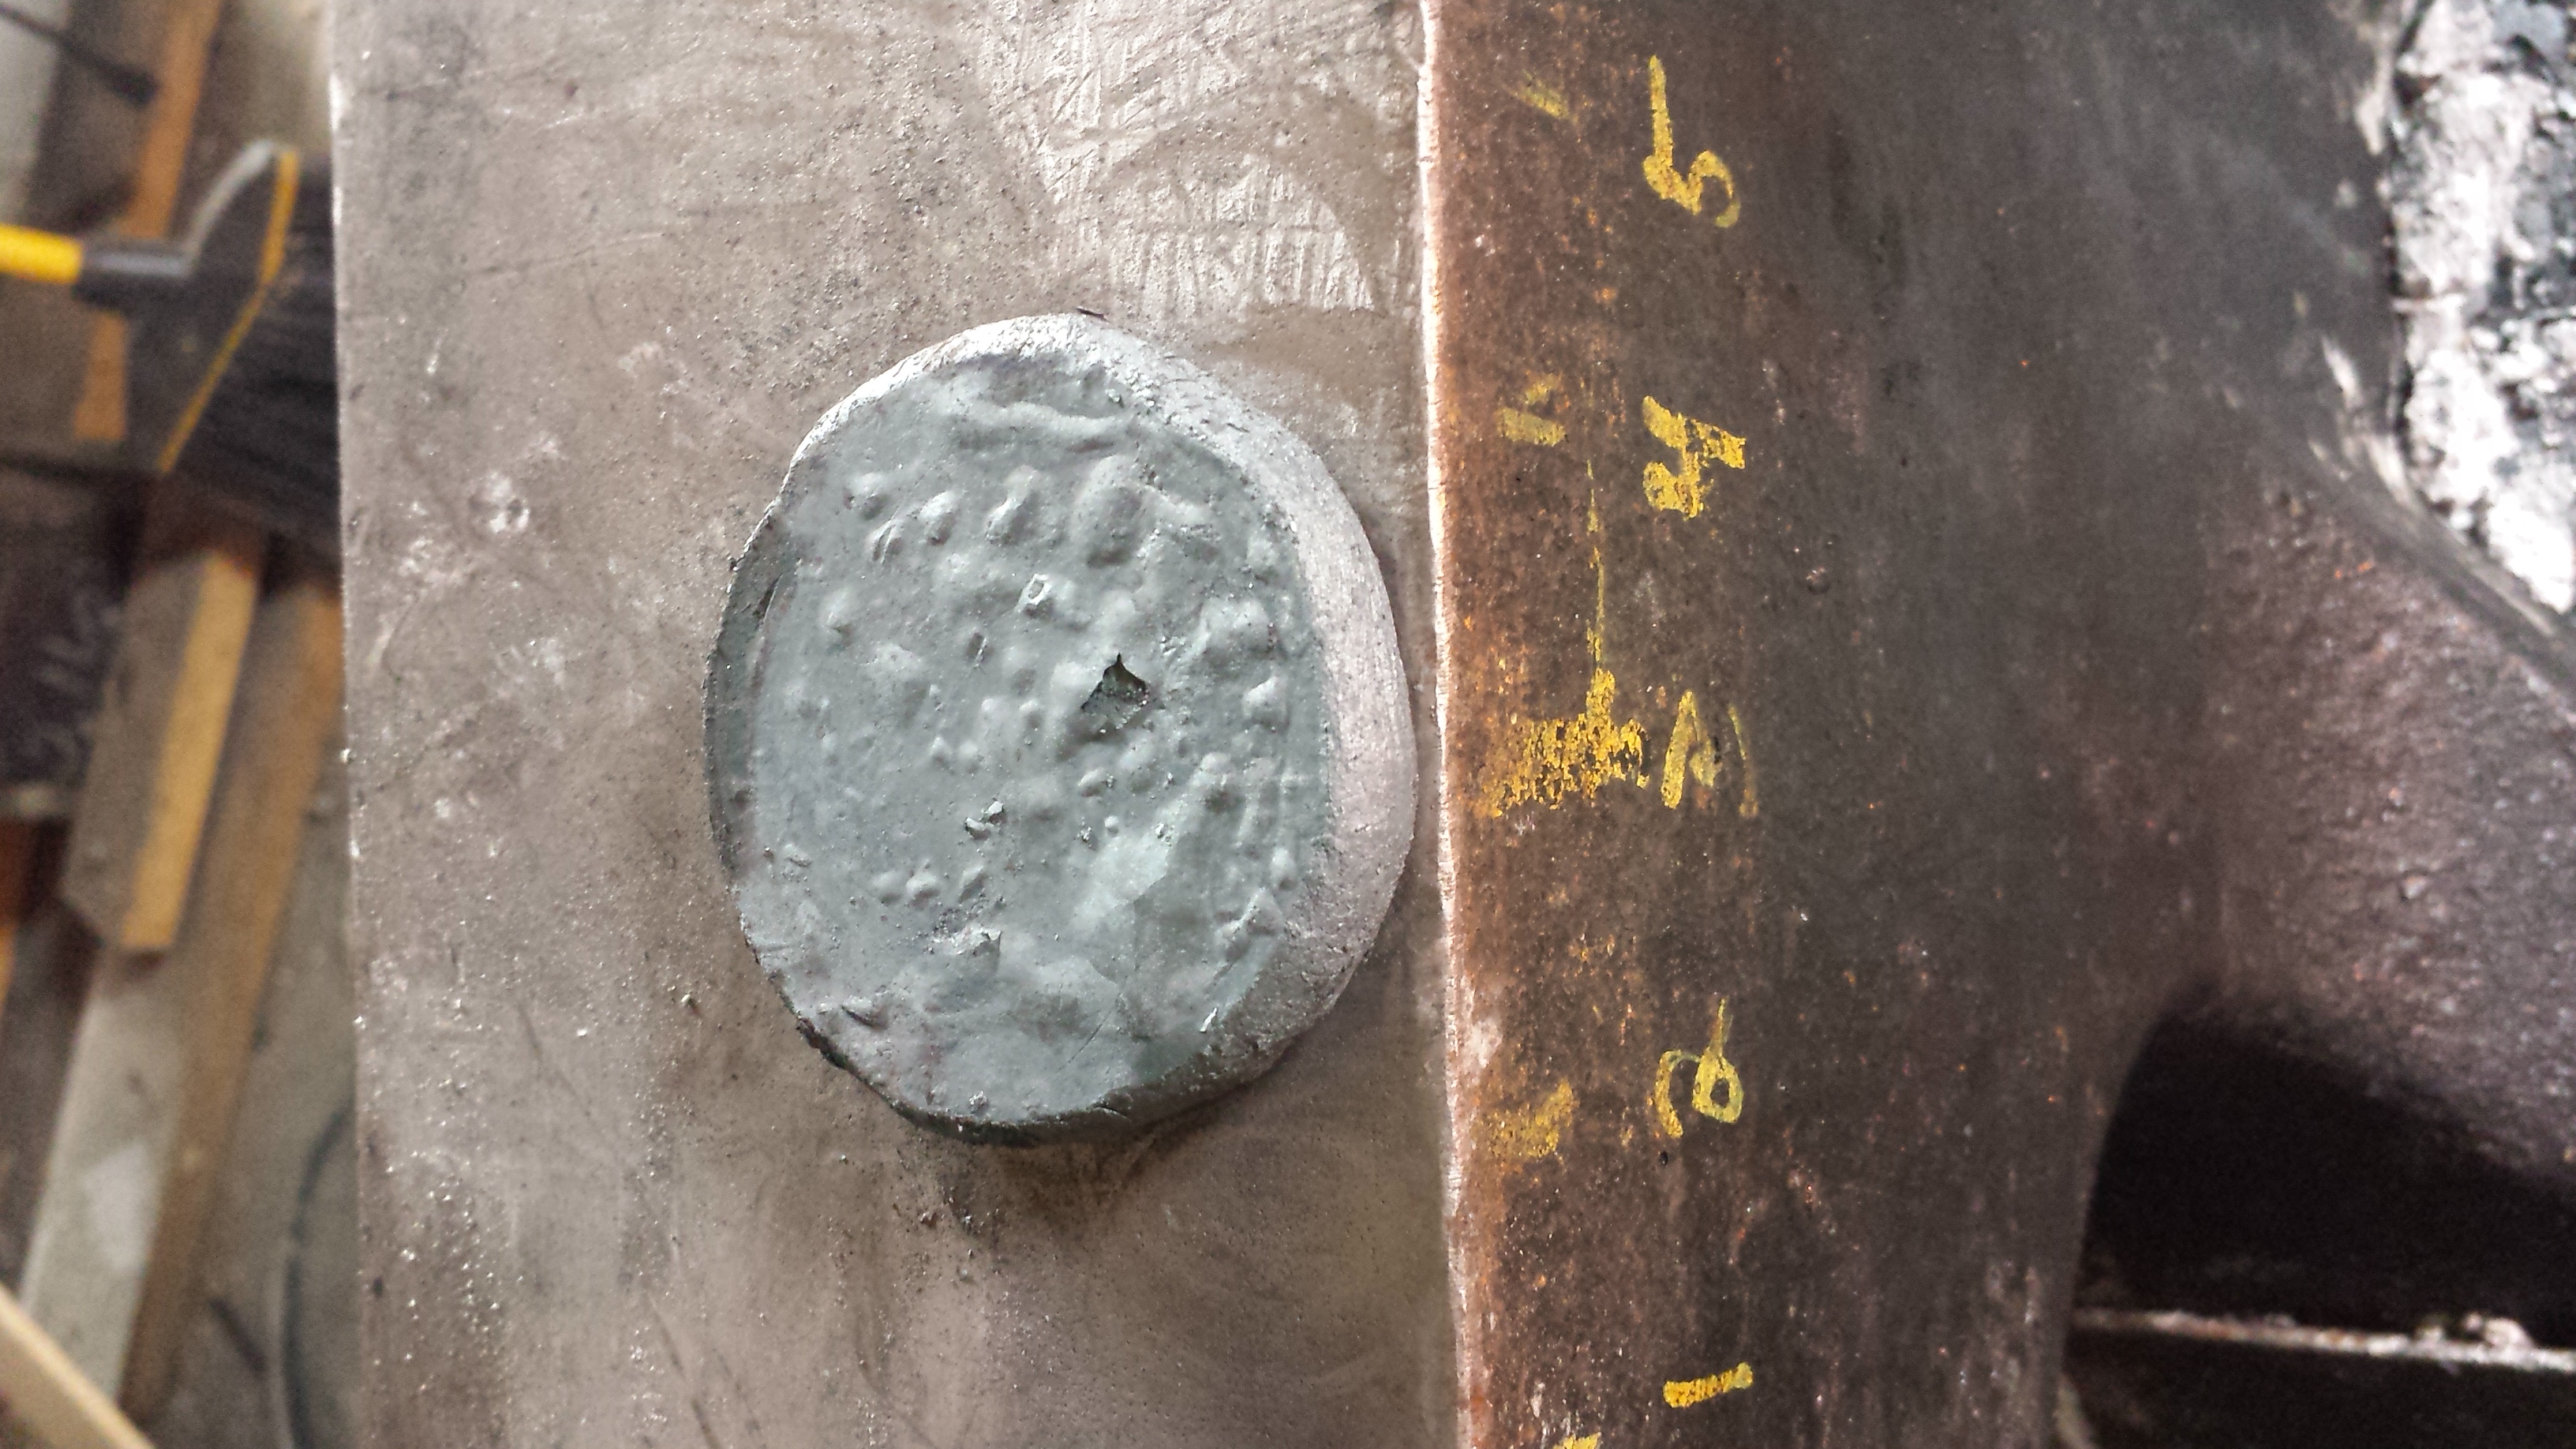
Seamless Ring starting blank
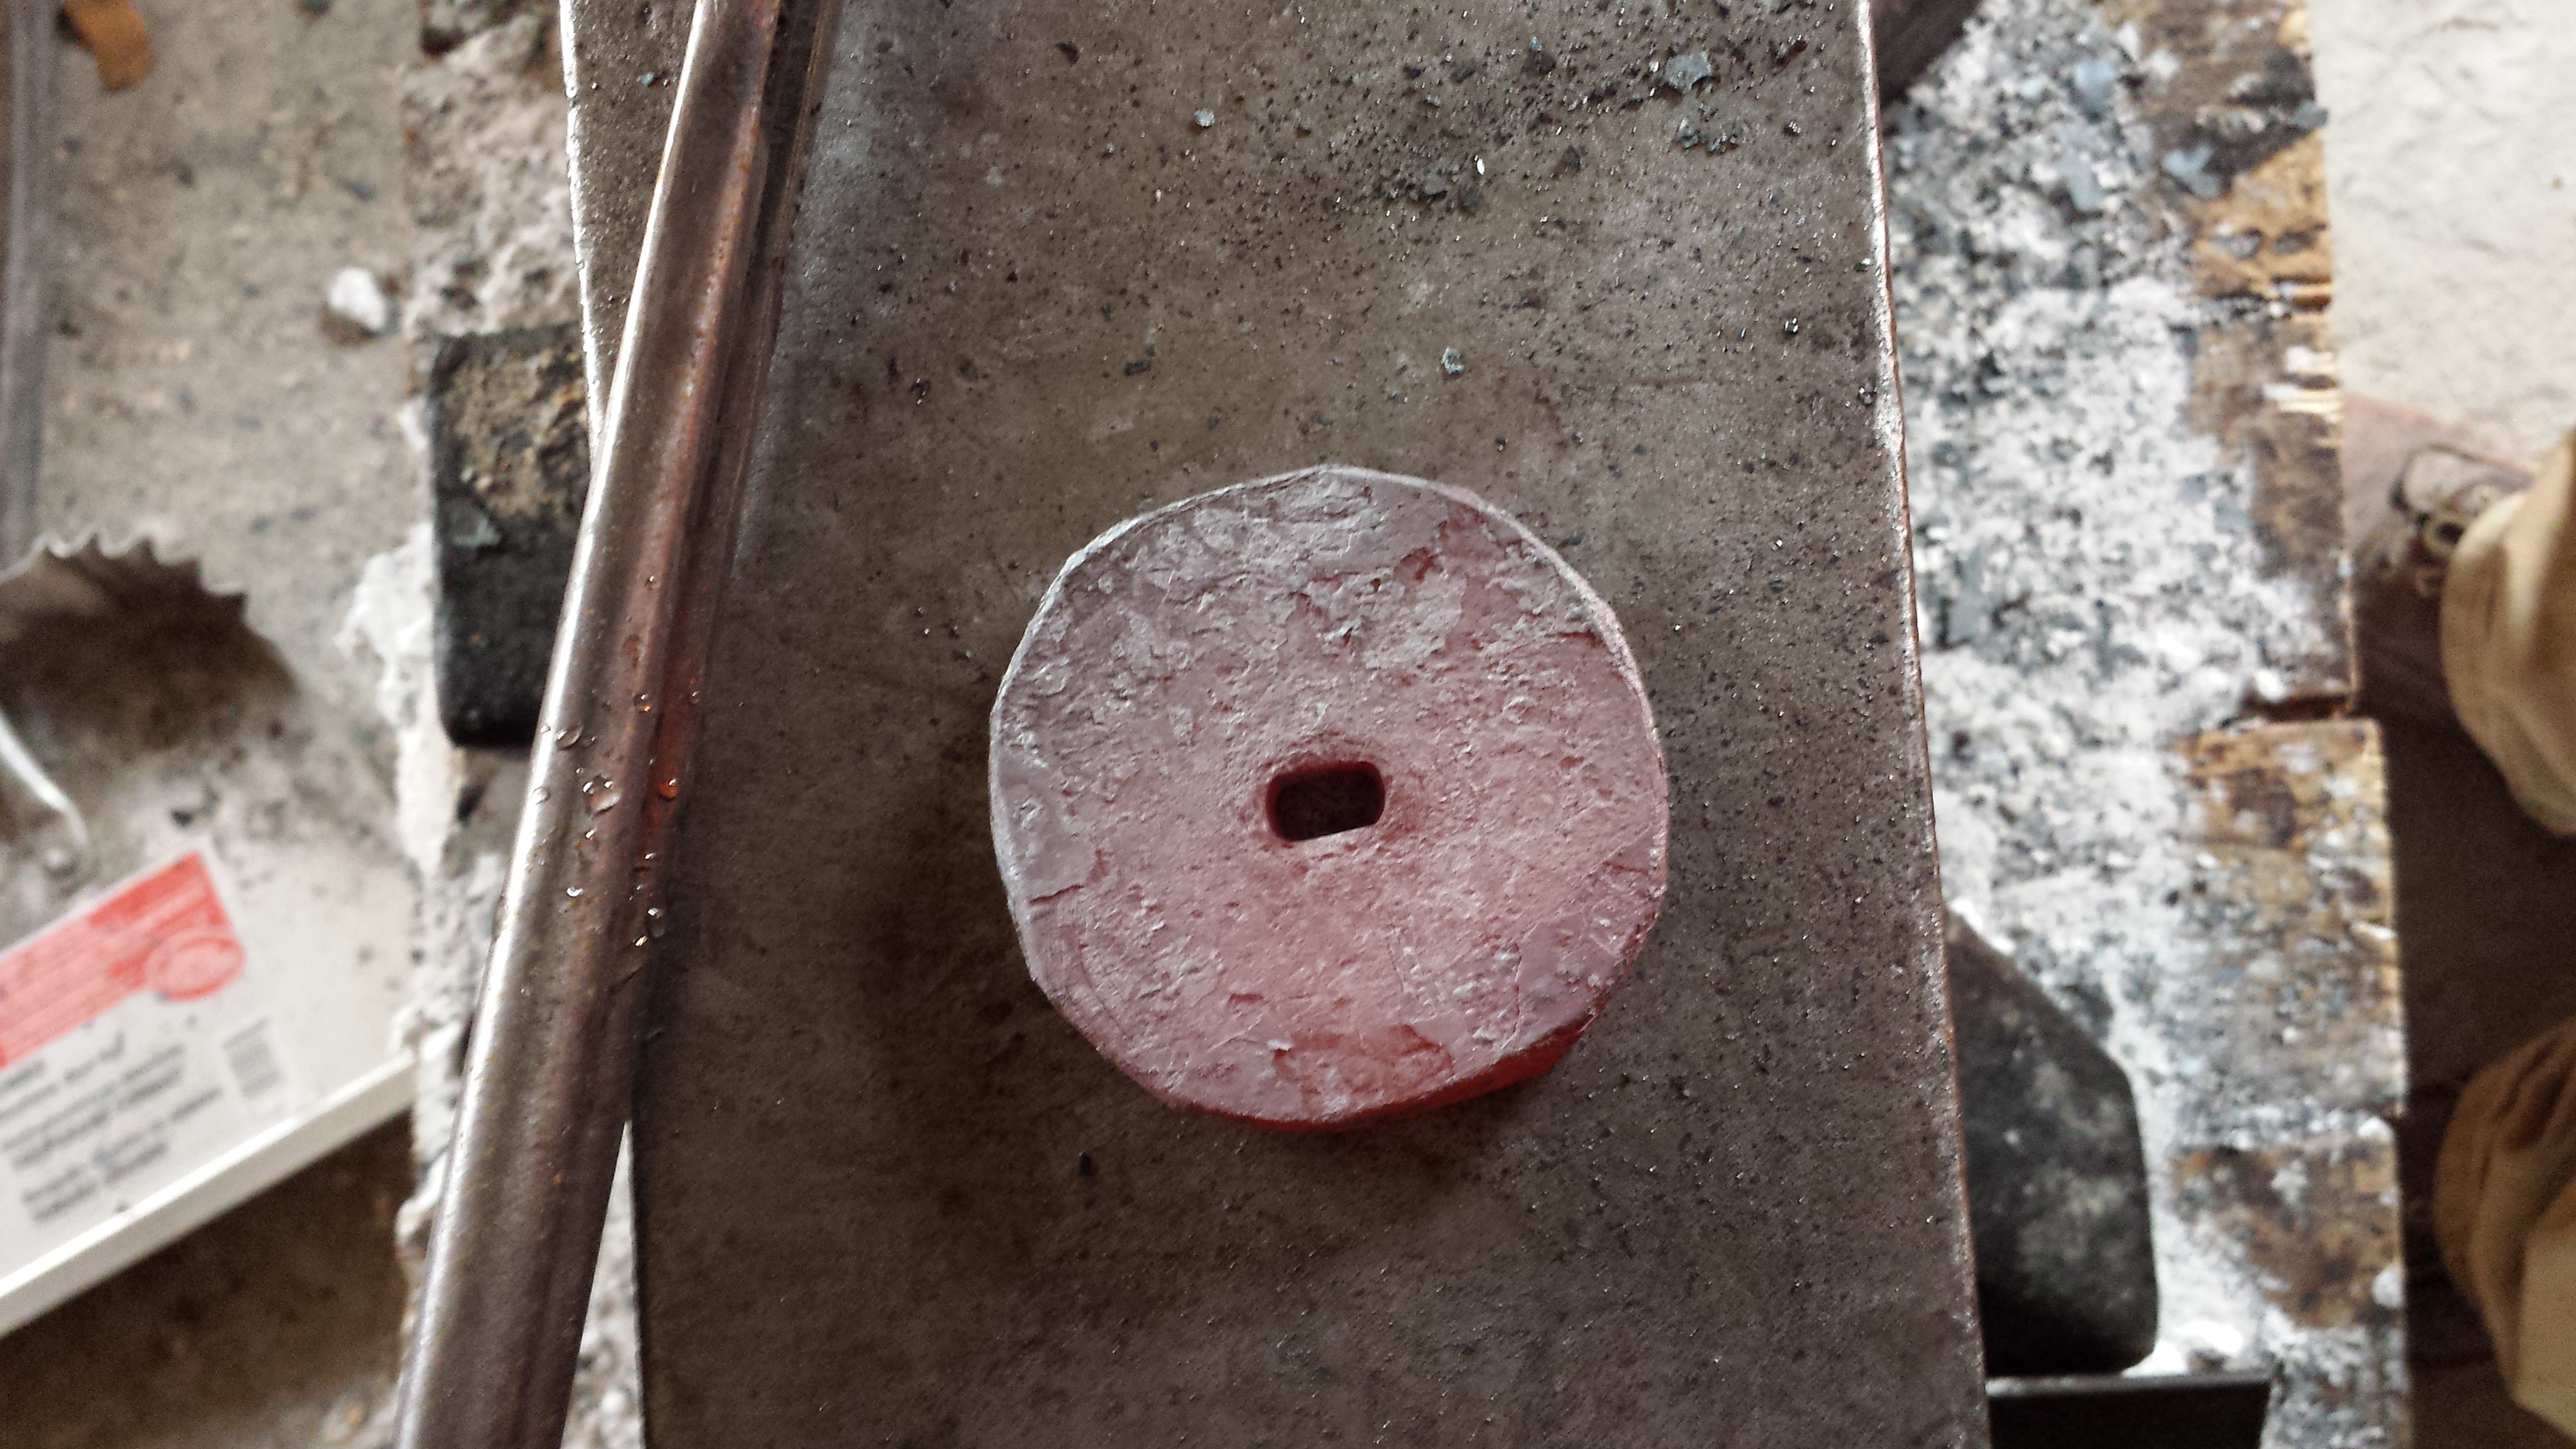
From here, a small, 1/4″ hole is hot punched in the center of the preform. It would probably be a bit easier if I had used a round punch, but I had one I had made for another project handy and the slight oblong nature of it wasn’t that big of a deal.
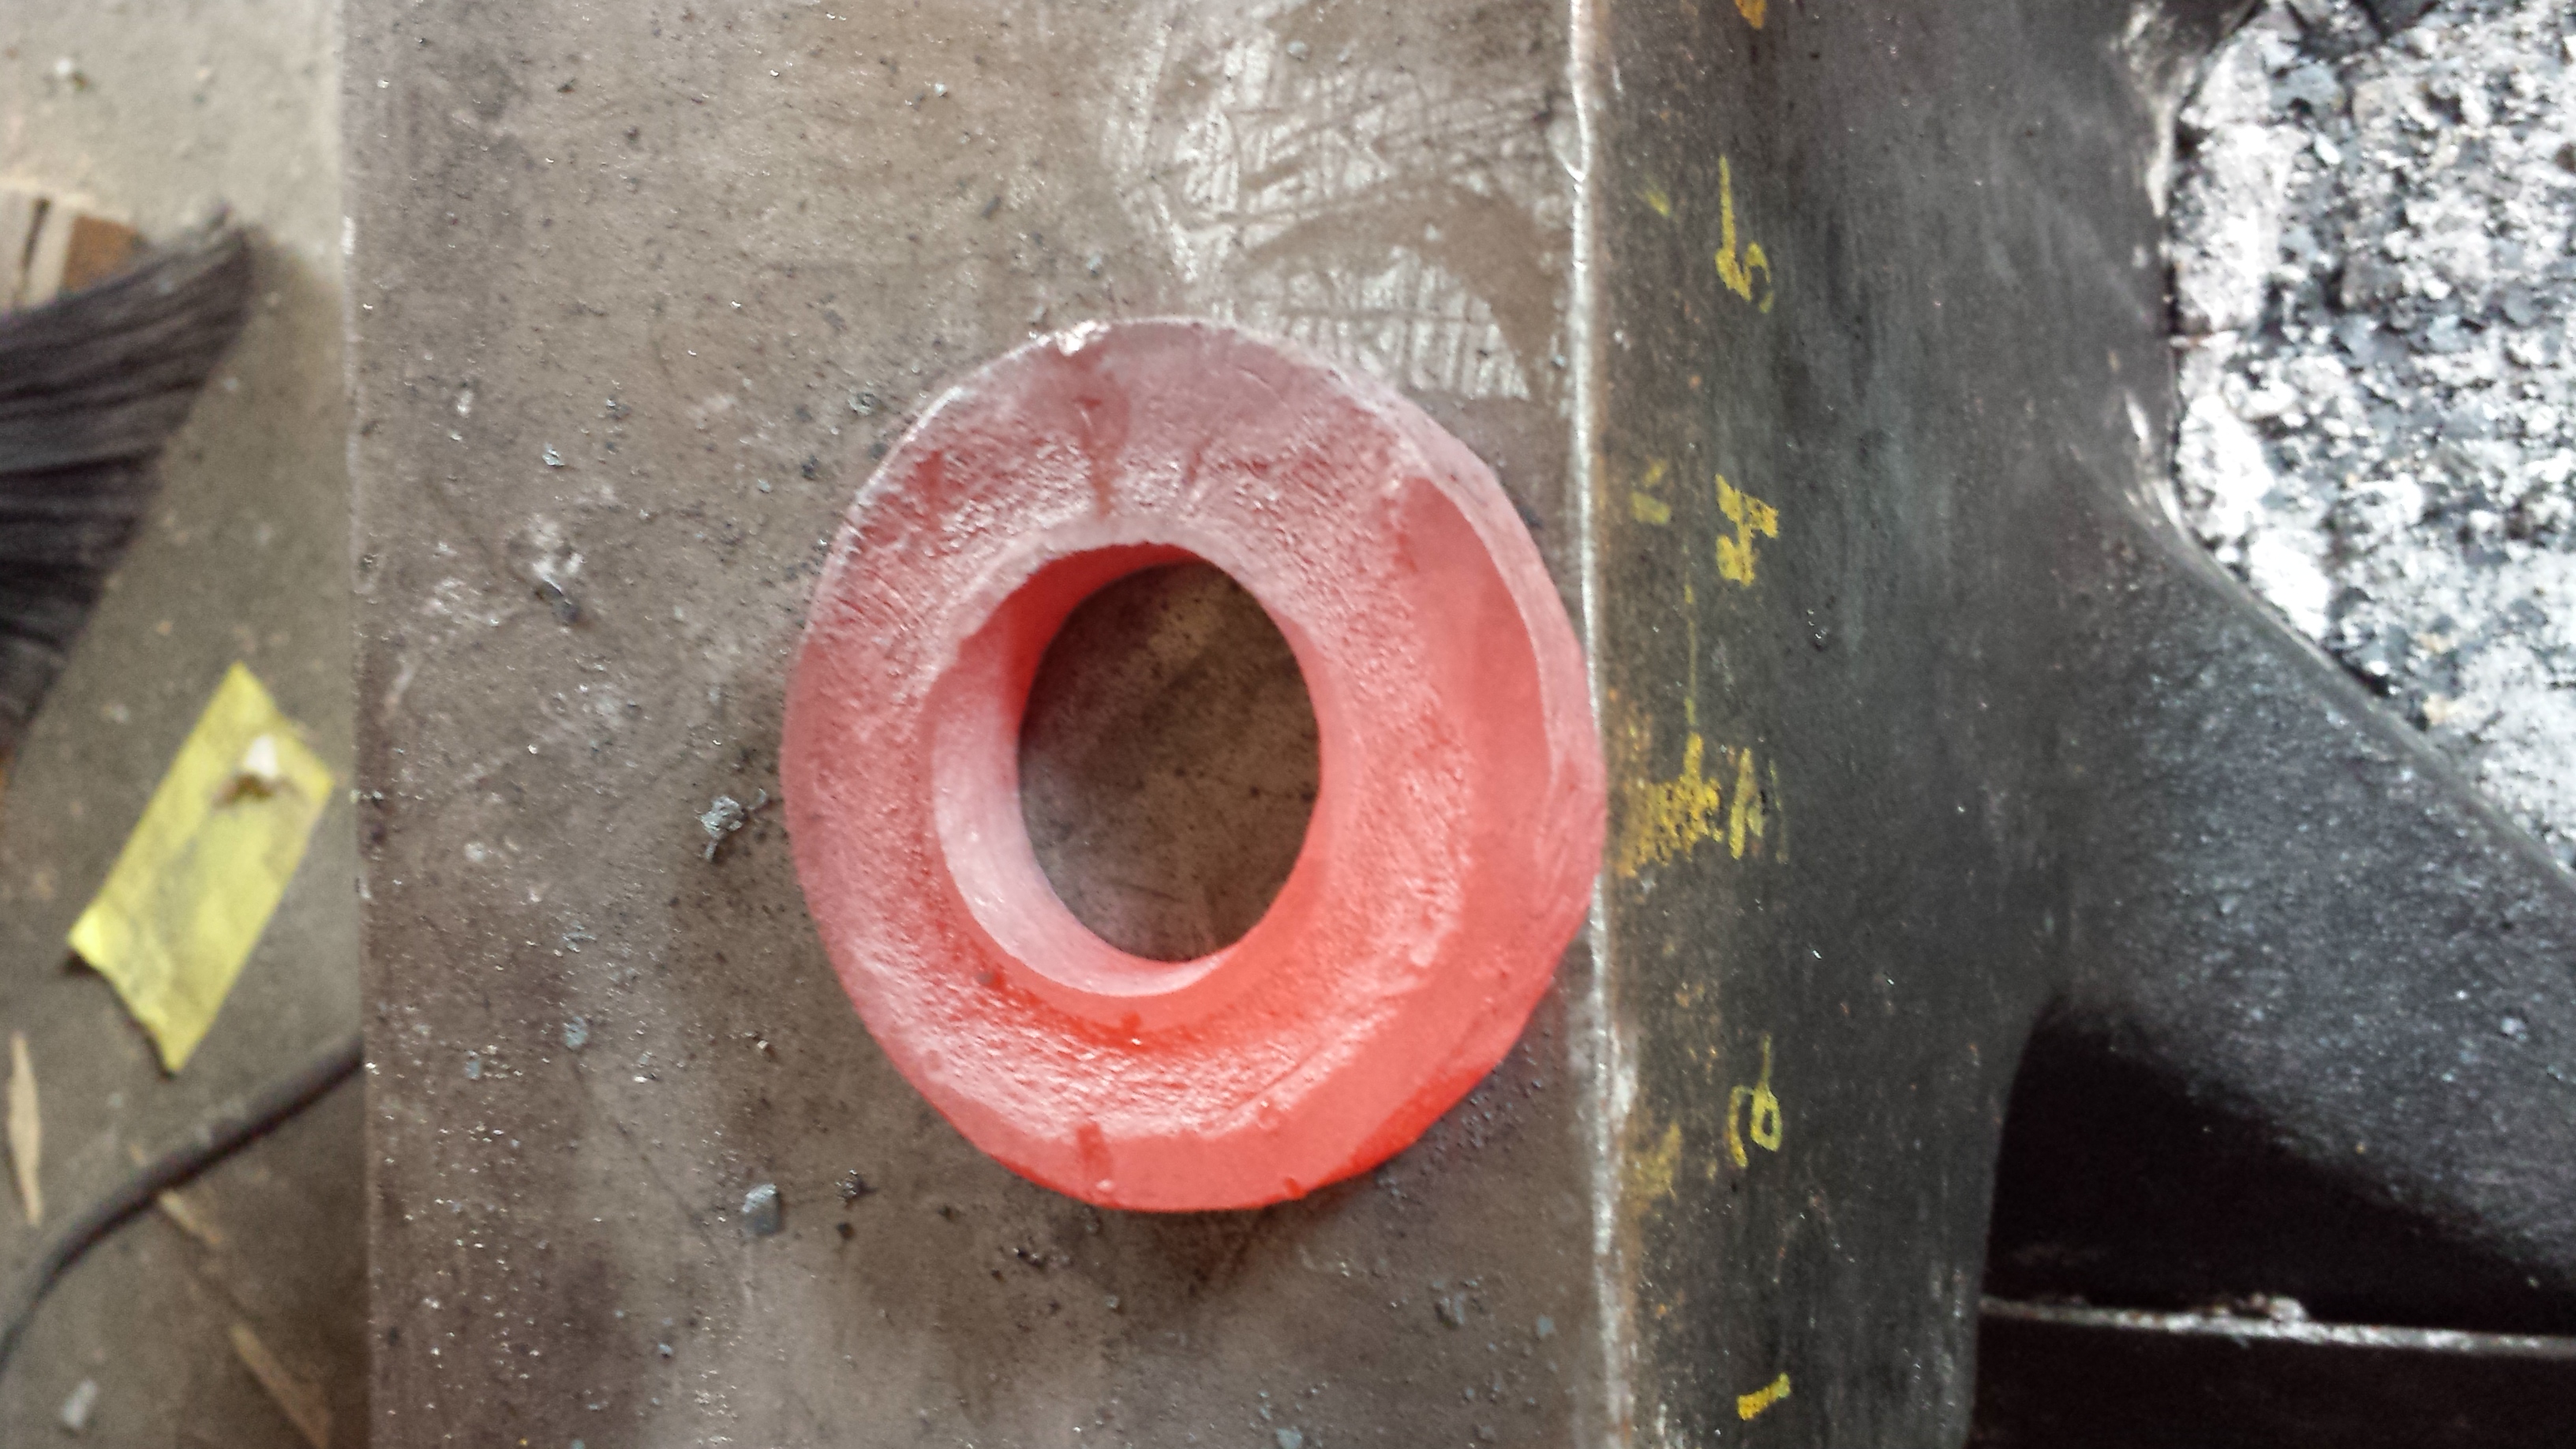
 After the hole is punched, it is drifted open with the punch wide enough that the next drift (5/8″ maximum size) can be inserted.
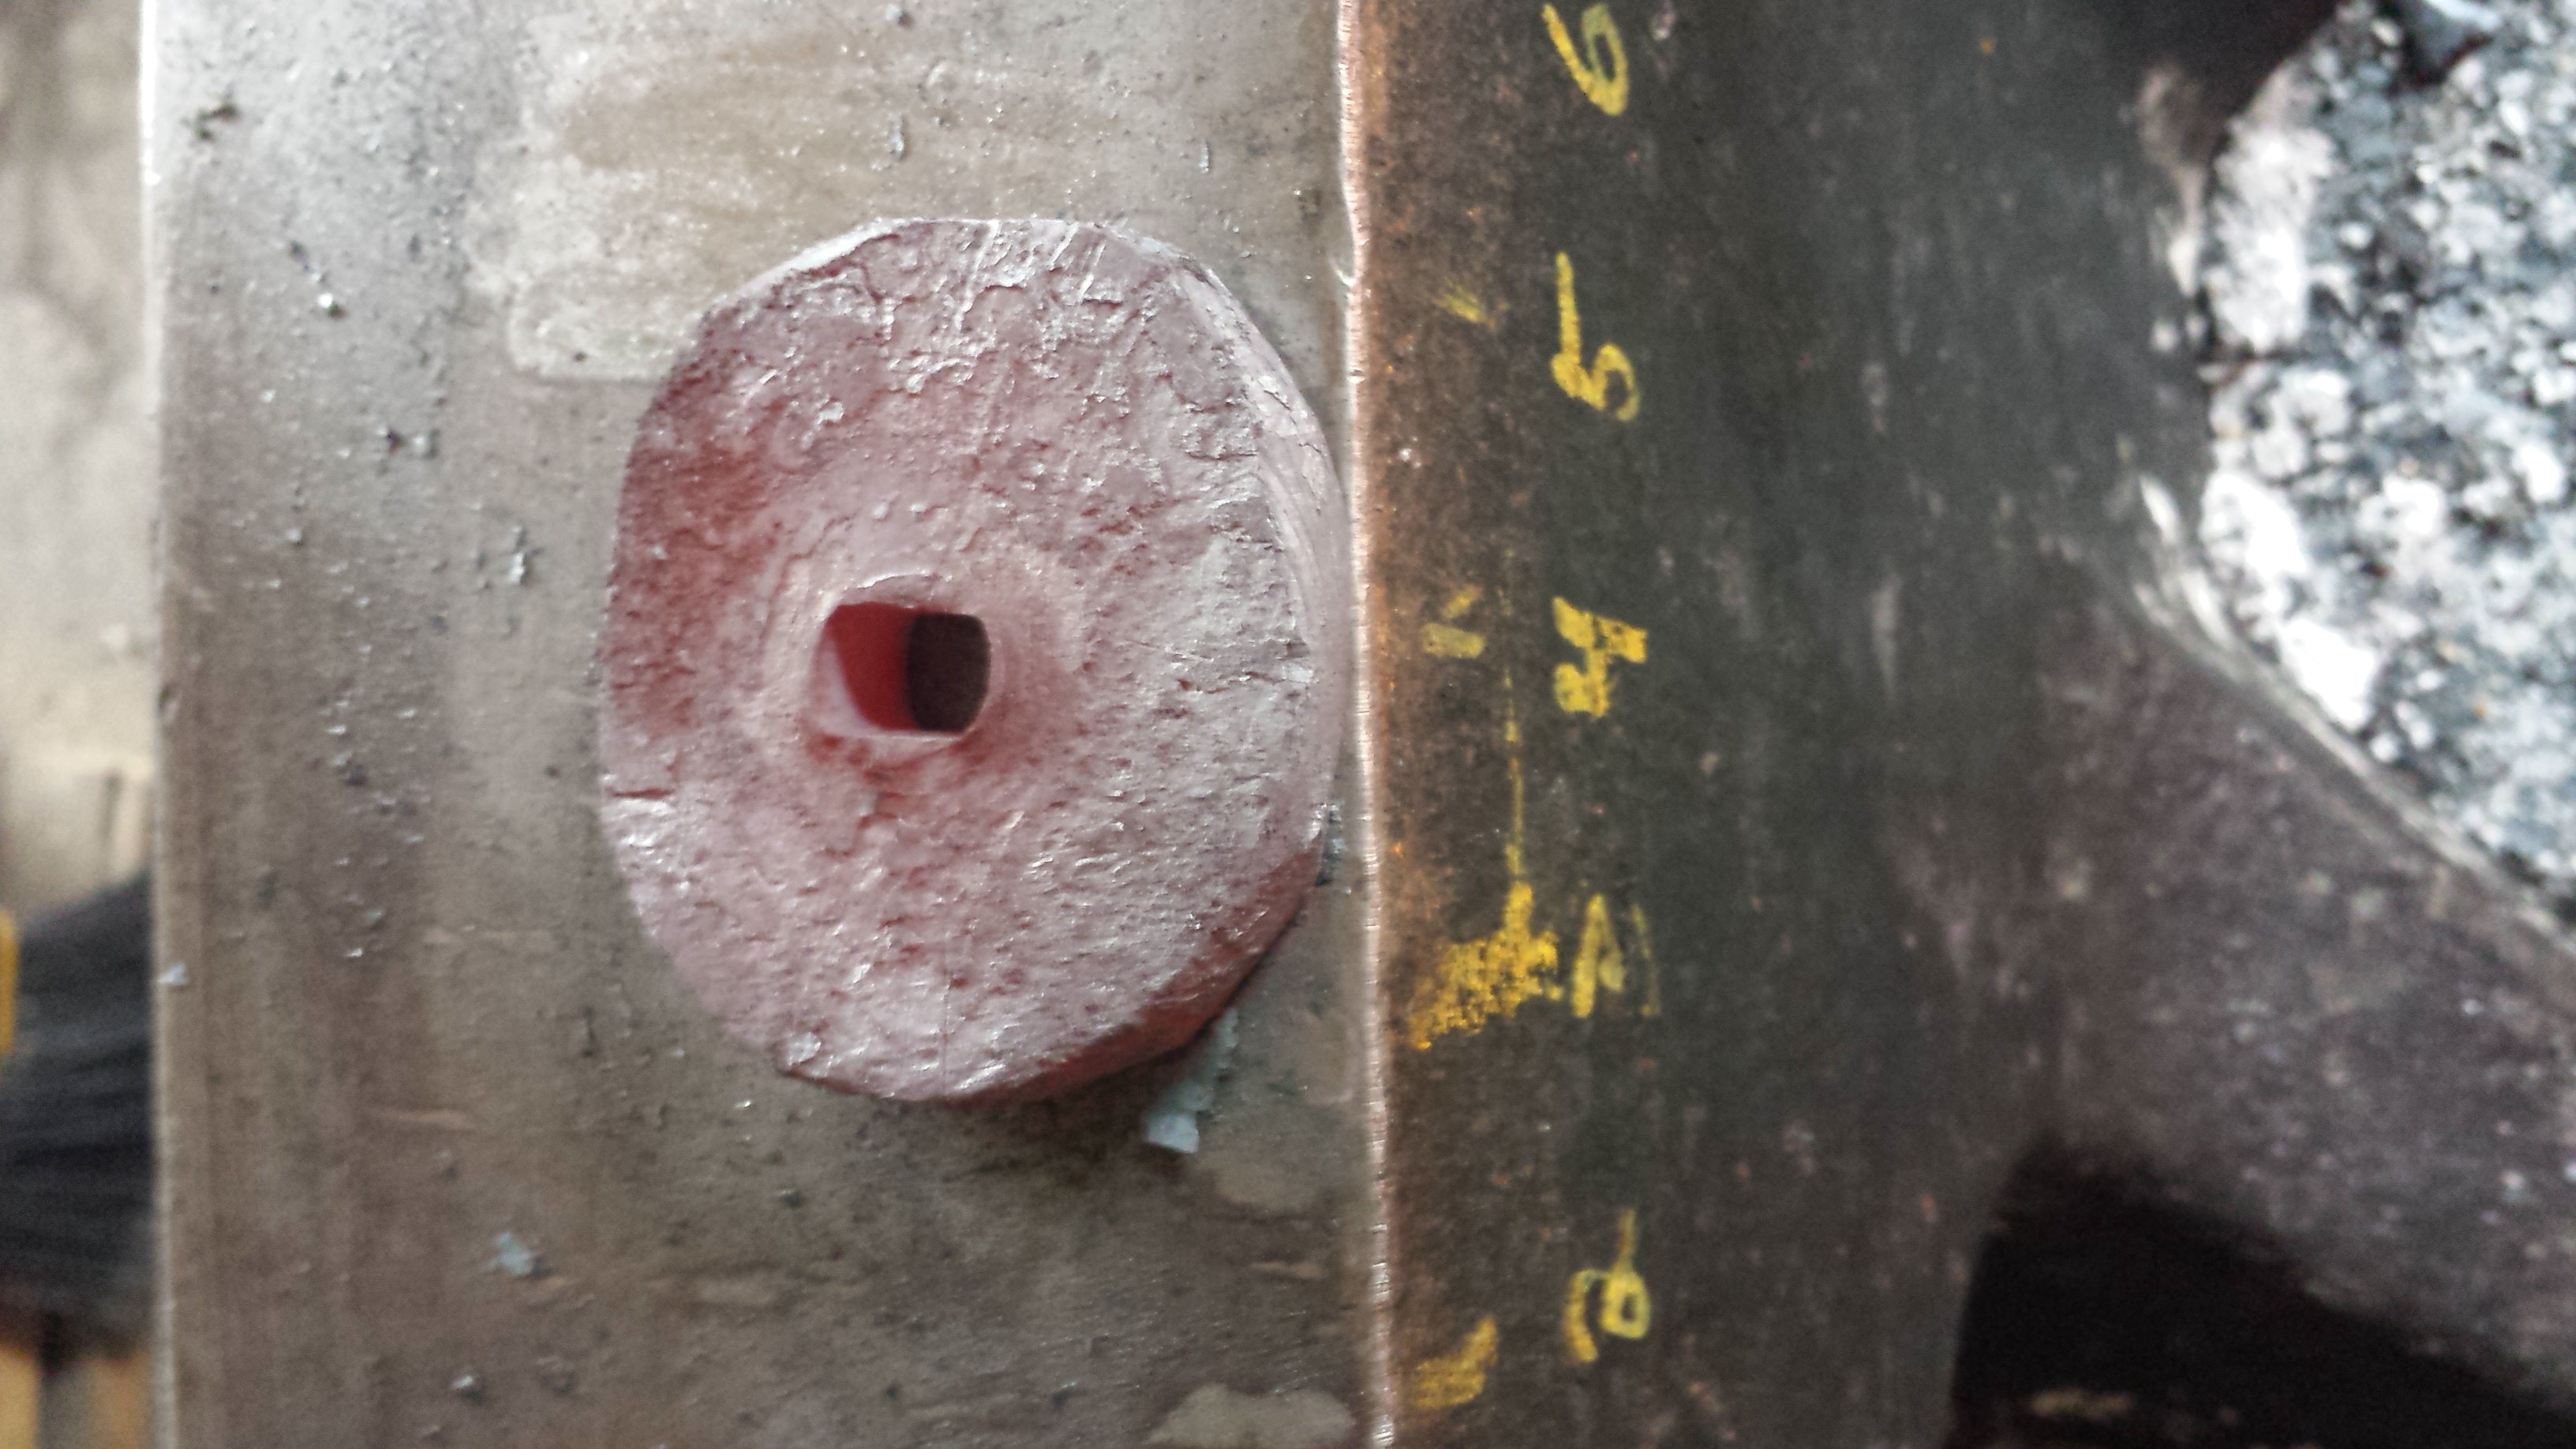
Then it’s drifted to 5/8″ round.
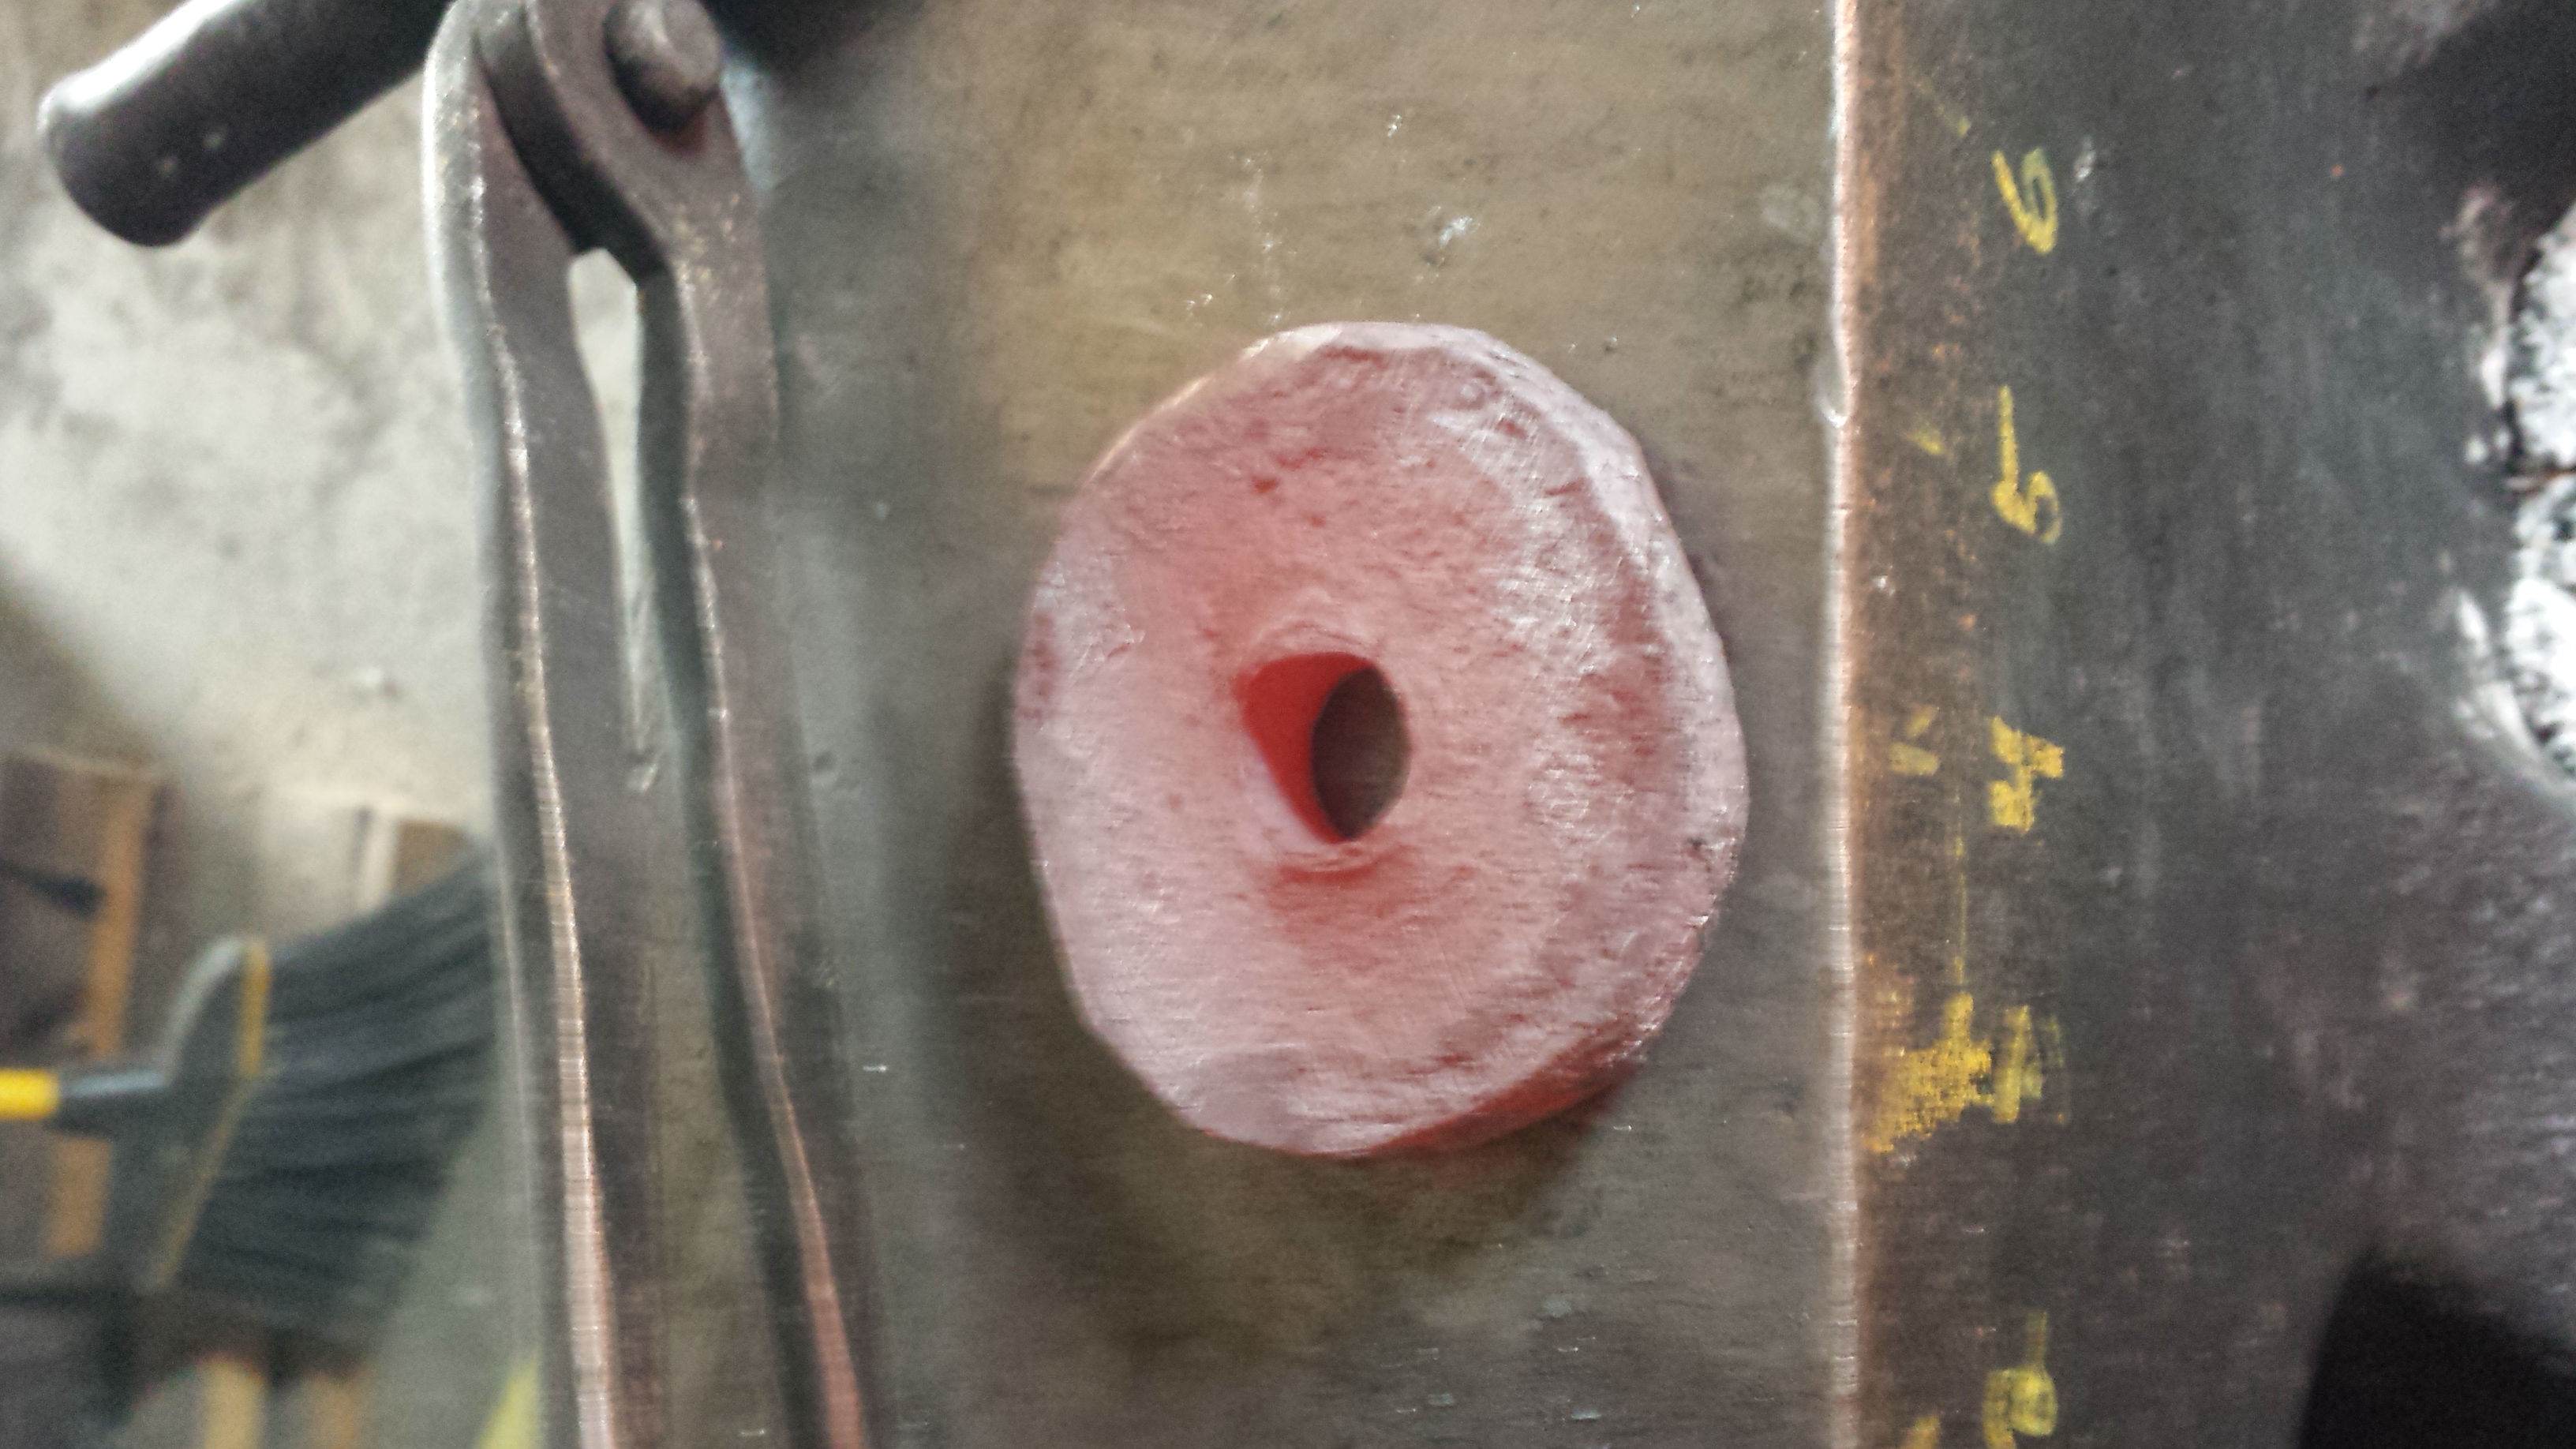
After that, it’s opened to 1″ round with a larger drift.
From this point, I can work it on the horn of the anvil and my cone mandrel to open it up to approximately 1 1/2″. You have to make sure that you work evenly around the piece at this point to ensure that you don’t overwork one side and end up with a thick side and a thin side.
 Unfortunately, here is where I got busy working the process and neglected to get more pictures. Next time I forge one of these, I’ll get the missing photos, but for now, here’s a description of the process.
The “donut” is placed on a cone mandrel or anvil horn and the outside edge is forged down towards the wider portion of the horn/mandrel to start rolling the face of the ring over to become the new outside of the ring. This starts to widen the punched hole very quickly, so once the rolling over of the edge has been started, flip the ring around and work the outside towards the smaller end of the mandrel/horn. This will help control some of the expansion of the punched hole so that you don’t take it too far.
Once the ring has been rolled, I work the new, flat outside around the anvil horn to draw the steel out to achieve final thickness and inside diameter. This is another point where you have to be very careful that you forge evenly all the way around the ring to avoid thick and thin spots.
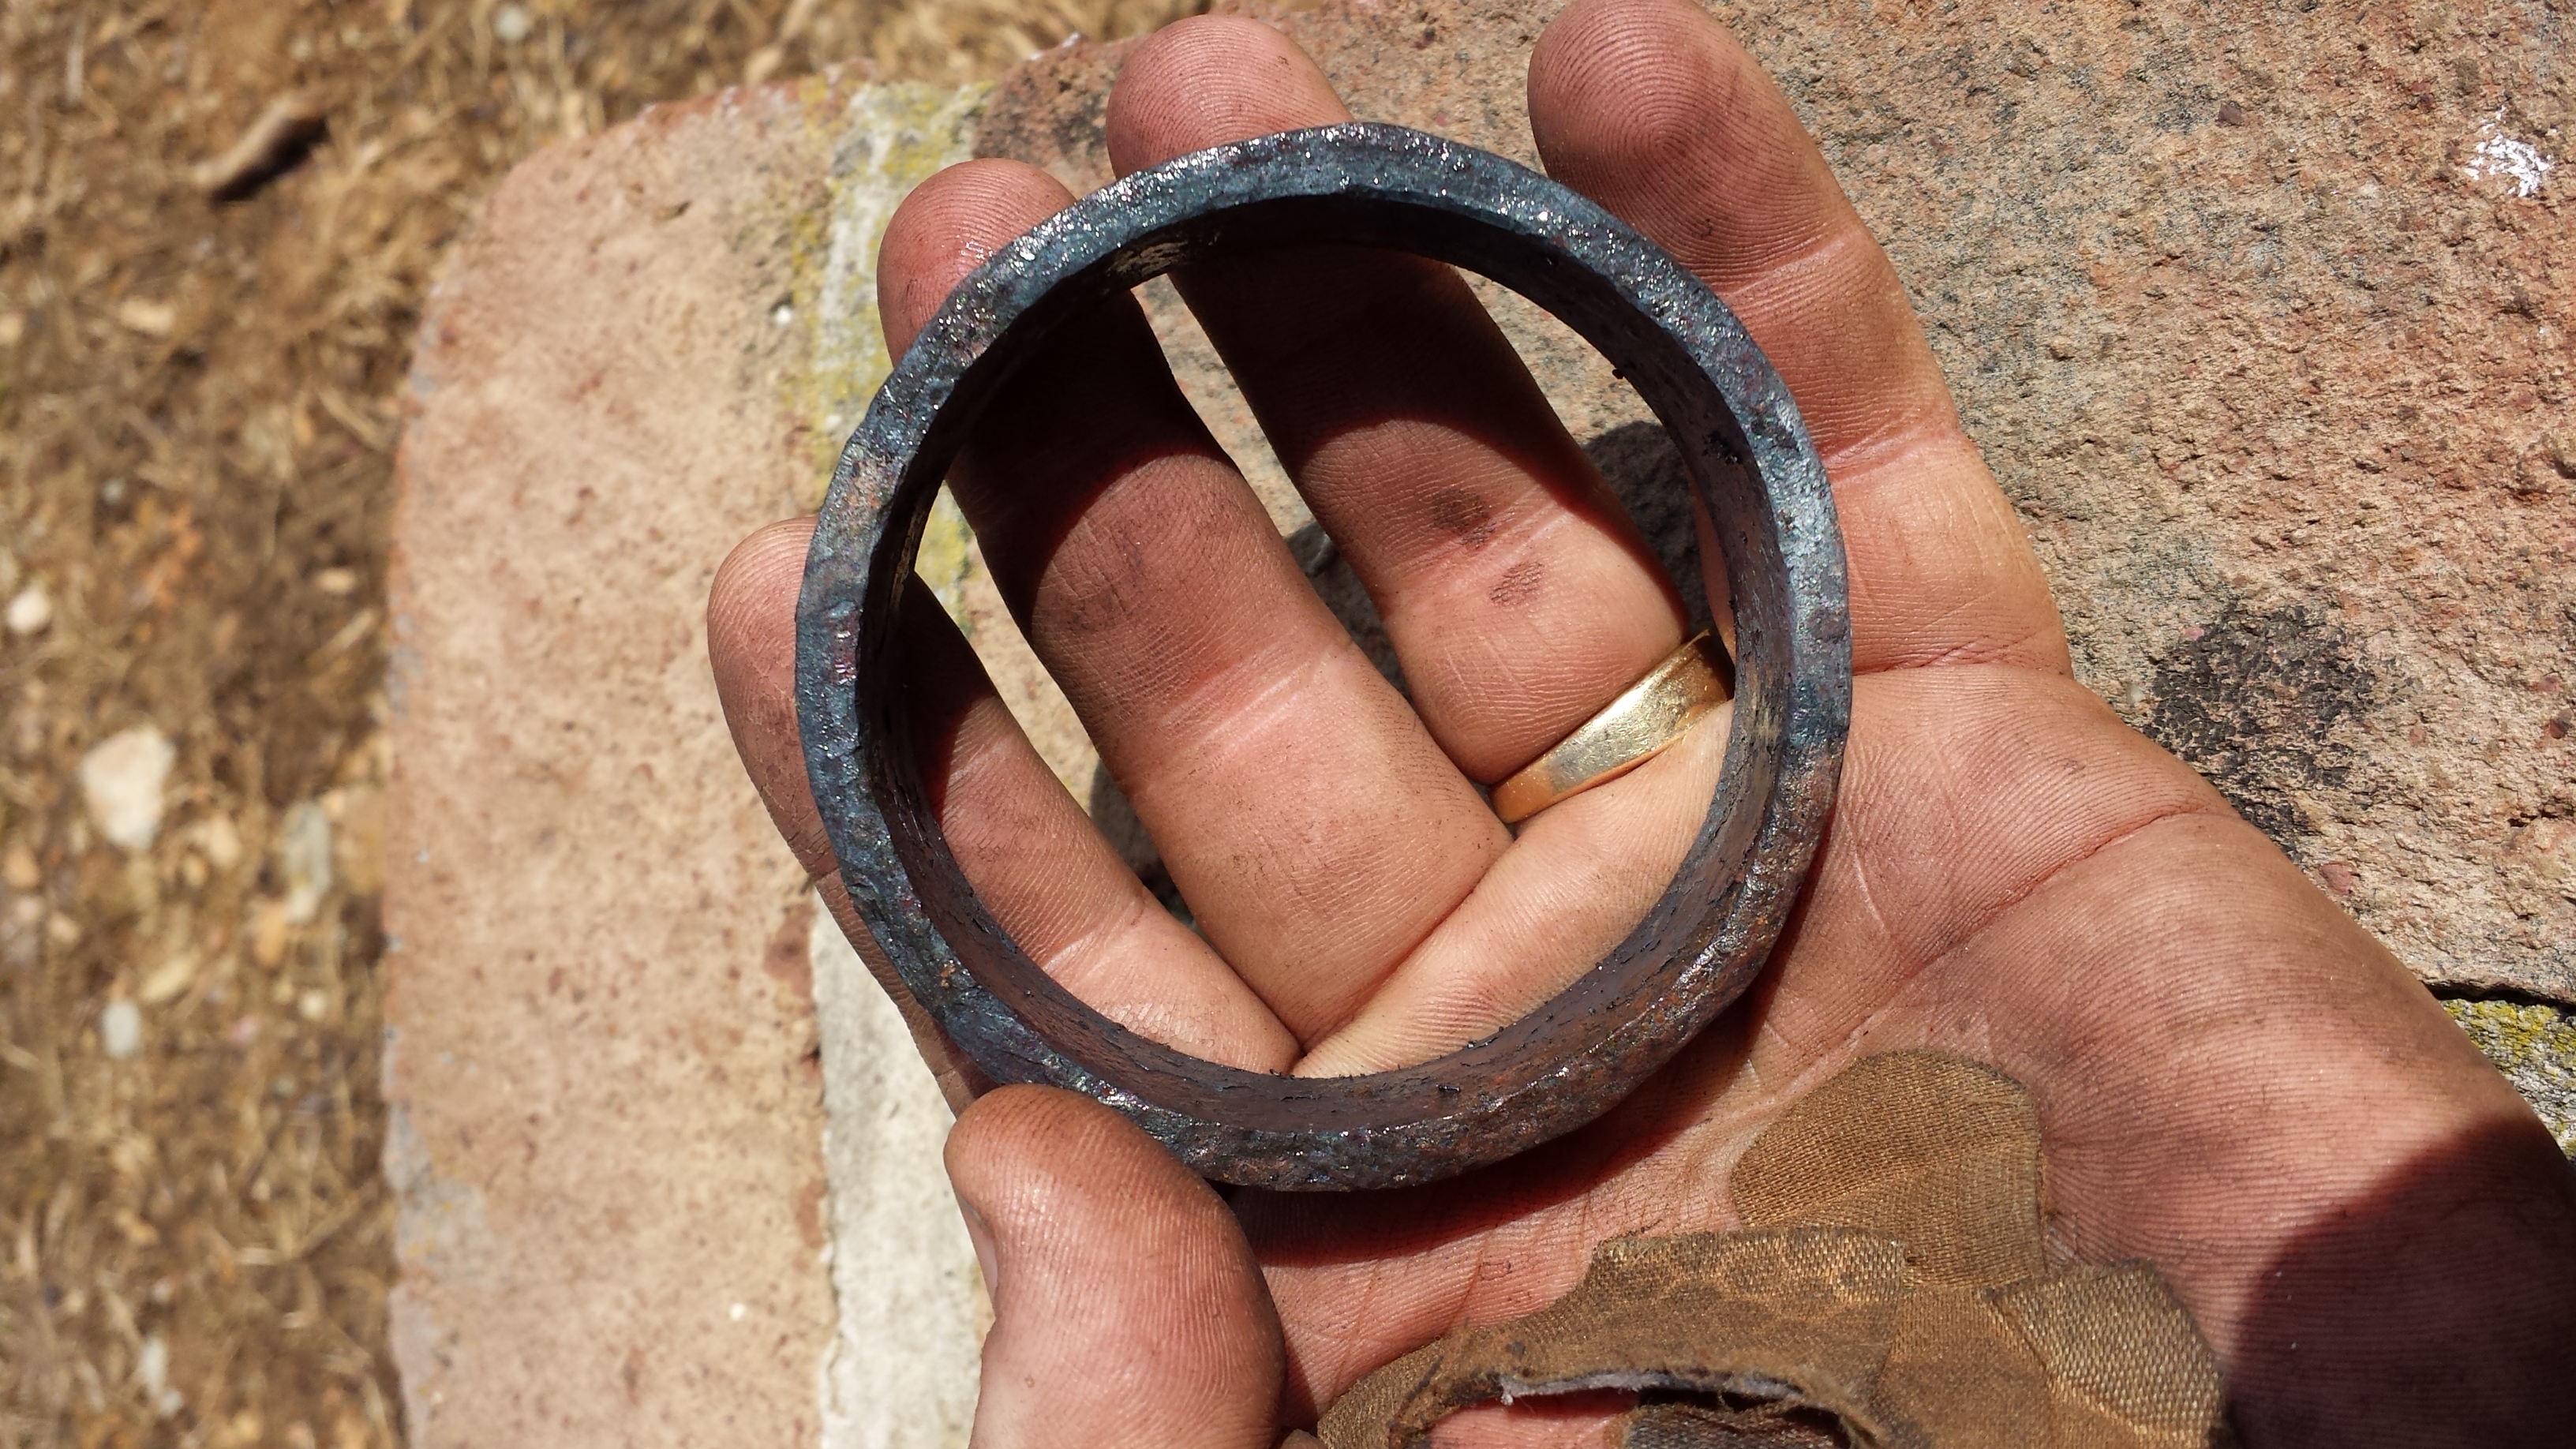
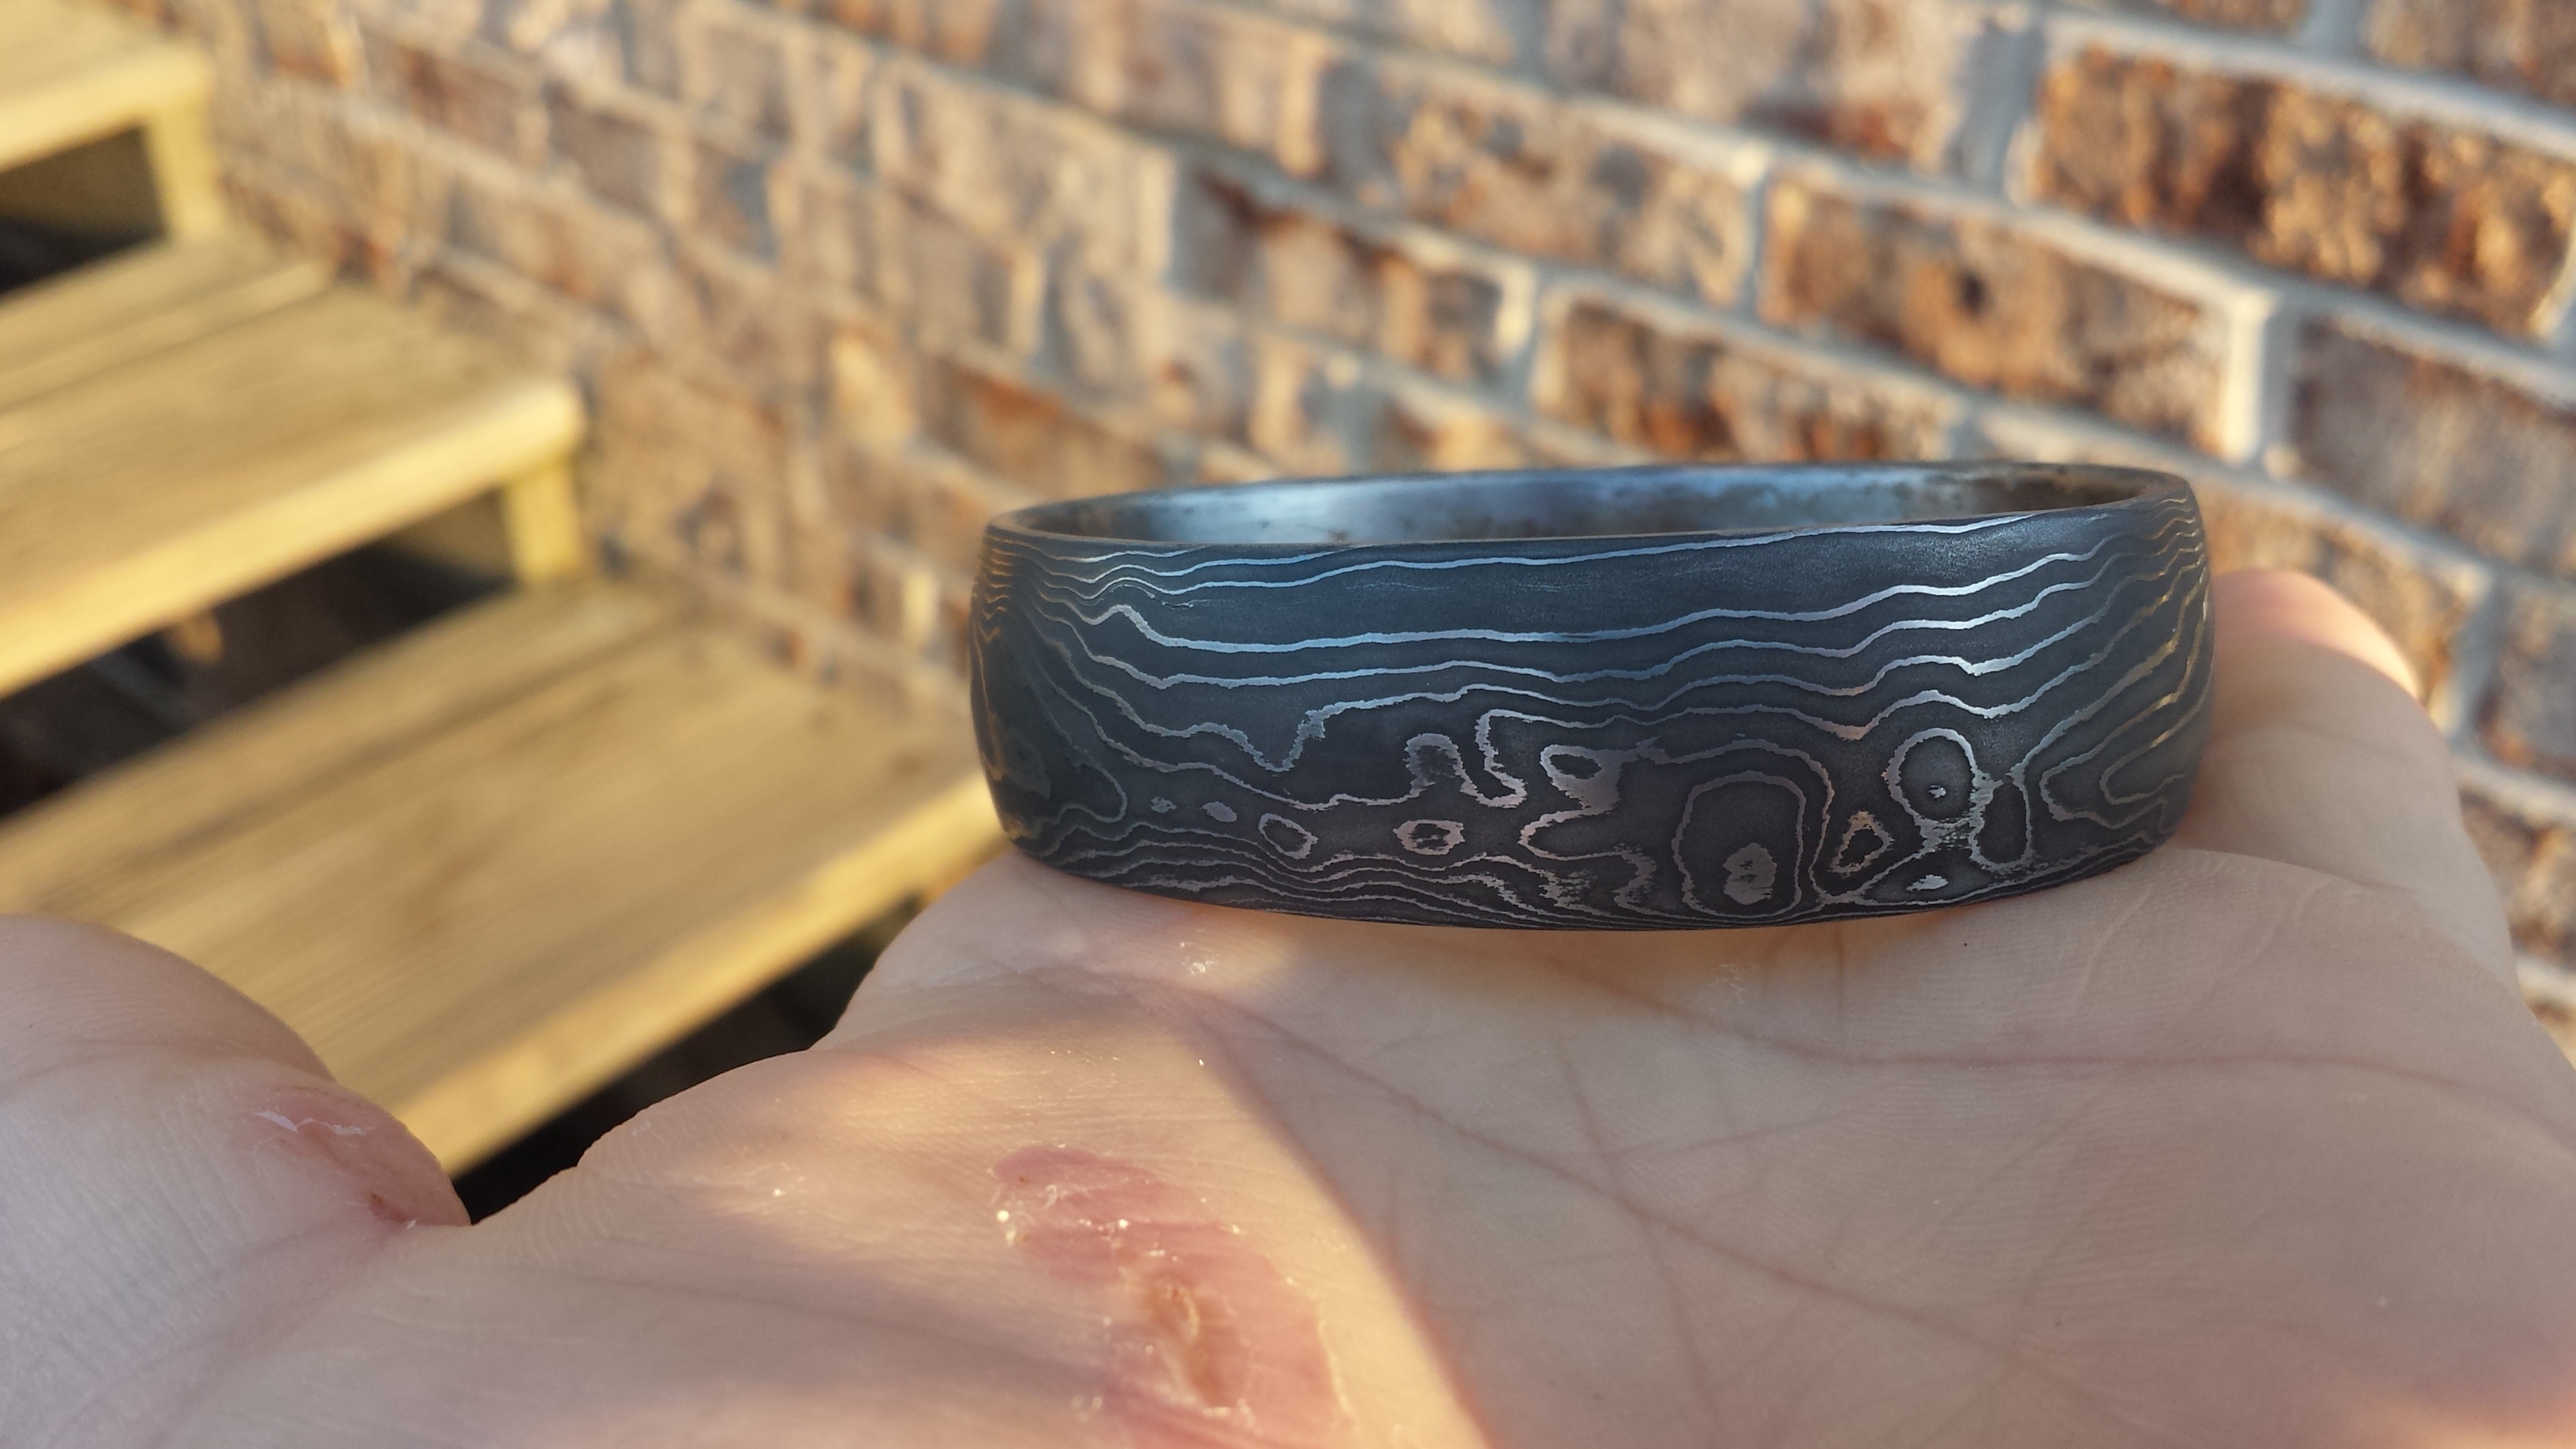
Final rounding and sizing is done on a cone mandrel and the finish forged piece looks like this. (Yes, those are band-aids. I quit concentrating for a minute and burned my hand after I put a set of tongs down the wrong way and ended up grabbing the hot end. Think safety first!)
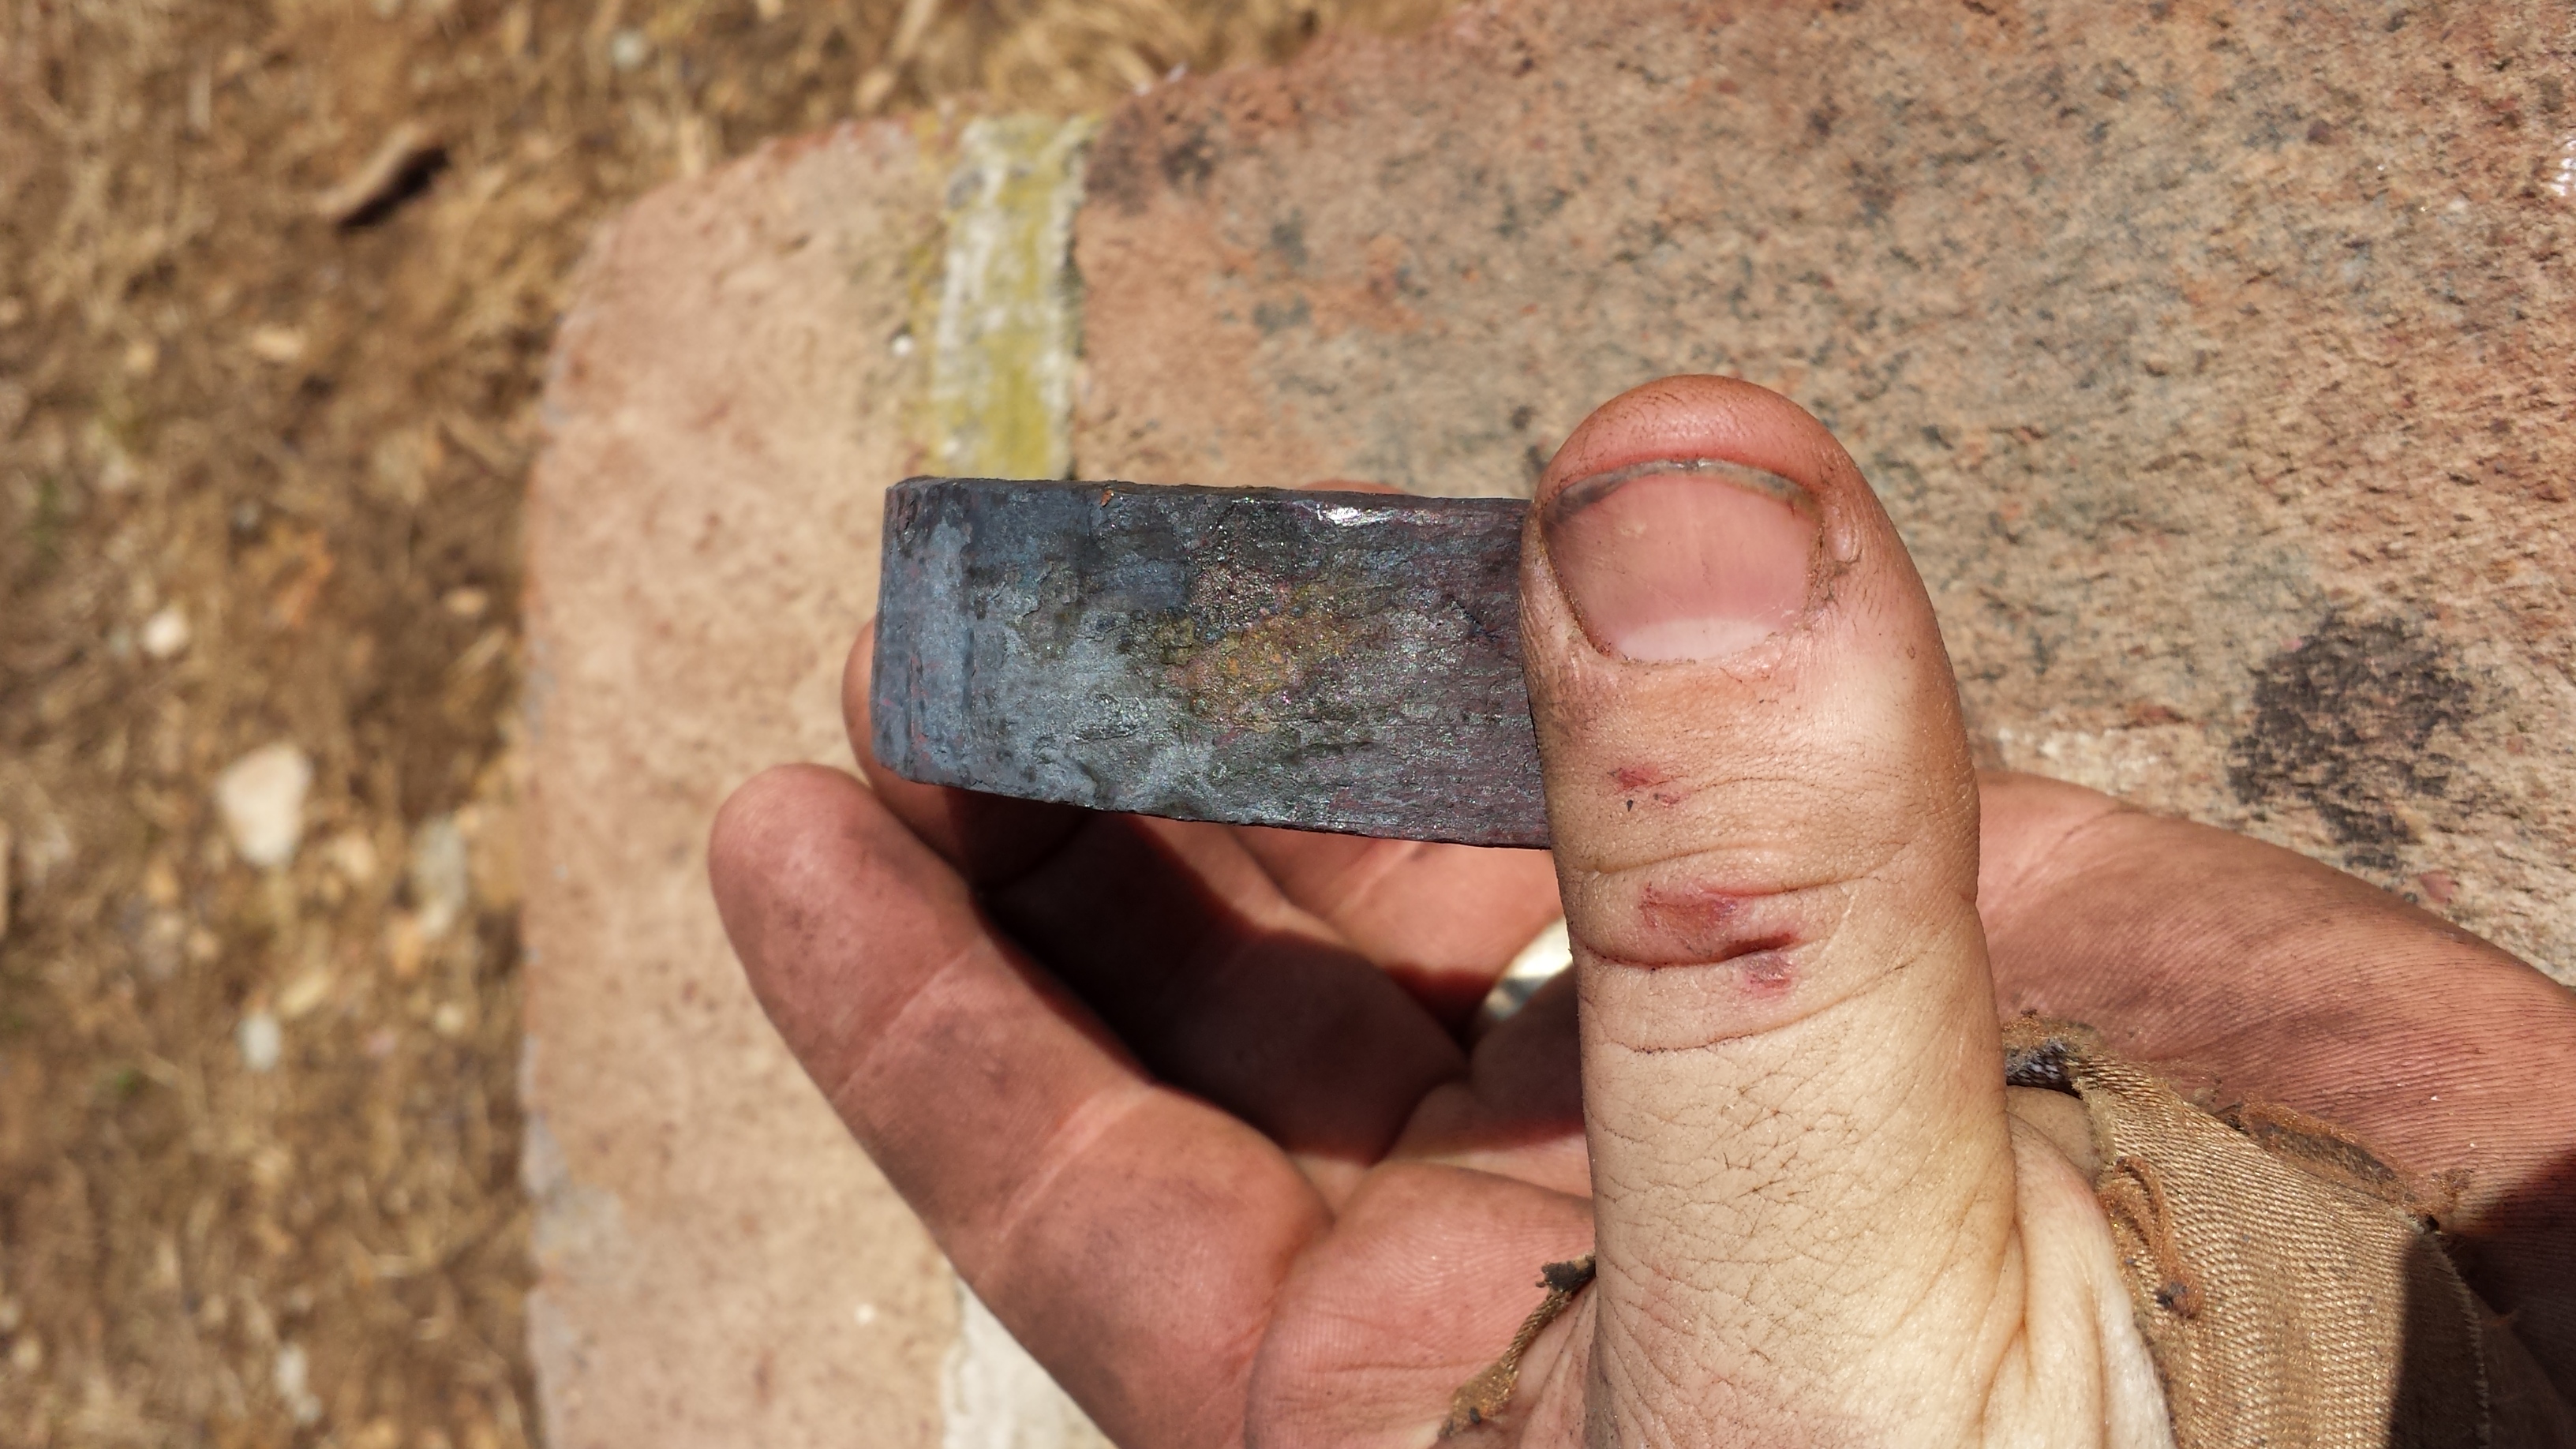
From this point I remove the forge scale and clean things up with a belt sander (outside) and a die grinder (inside). In the future I’ll likely build some lathe tooling to help speed this process up and keep things perfectly round.
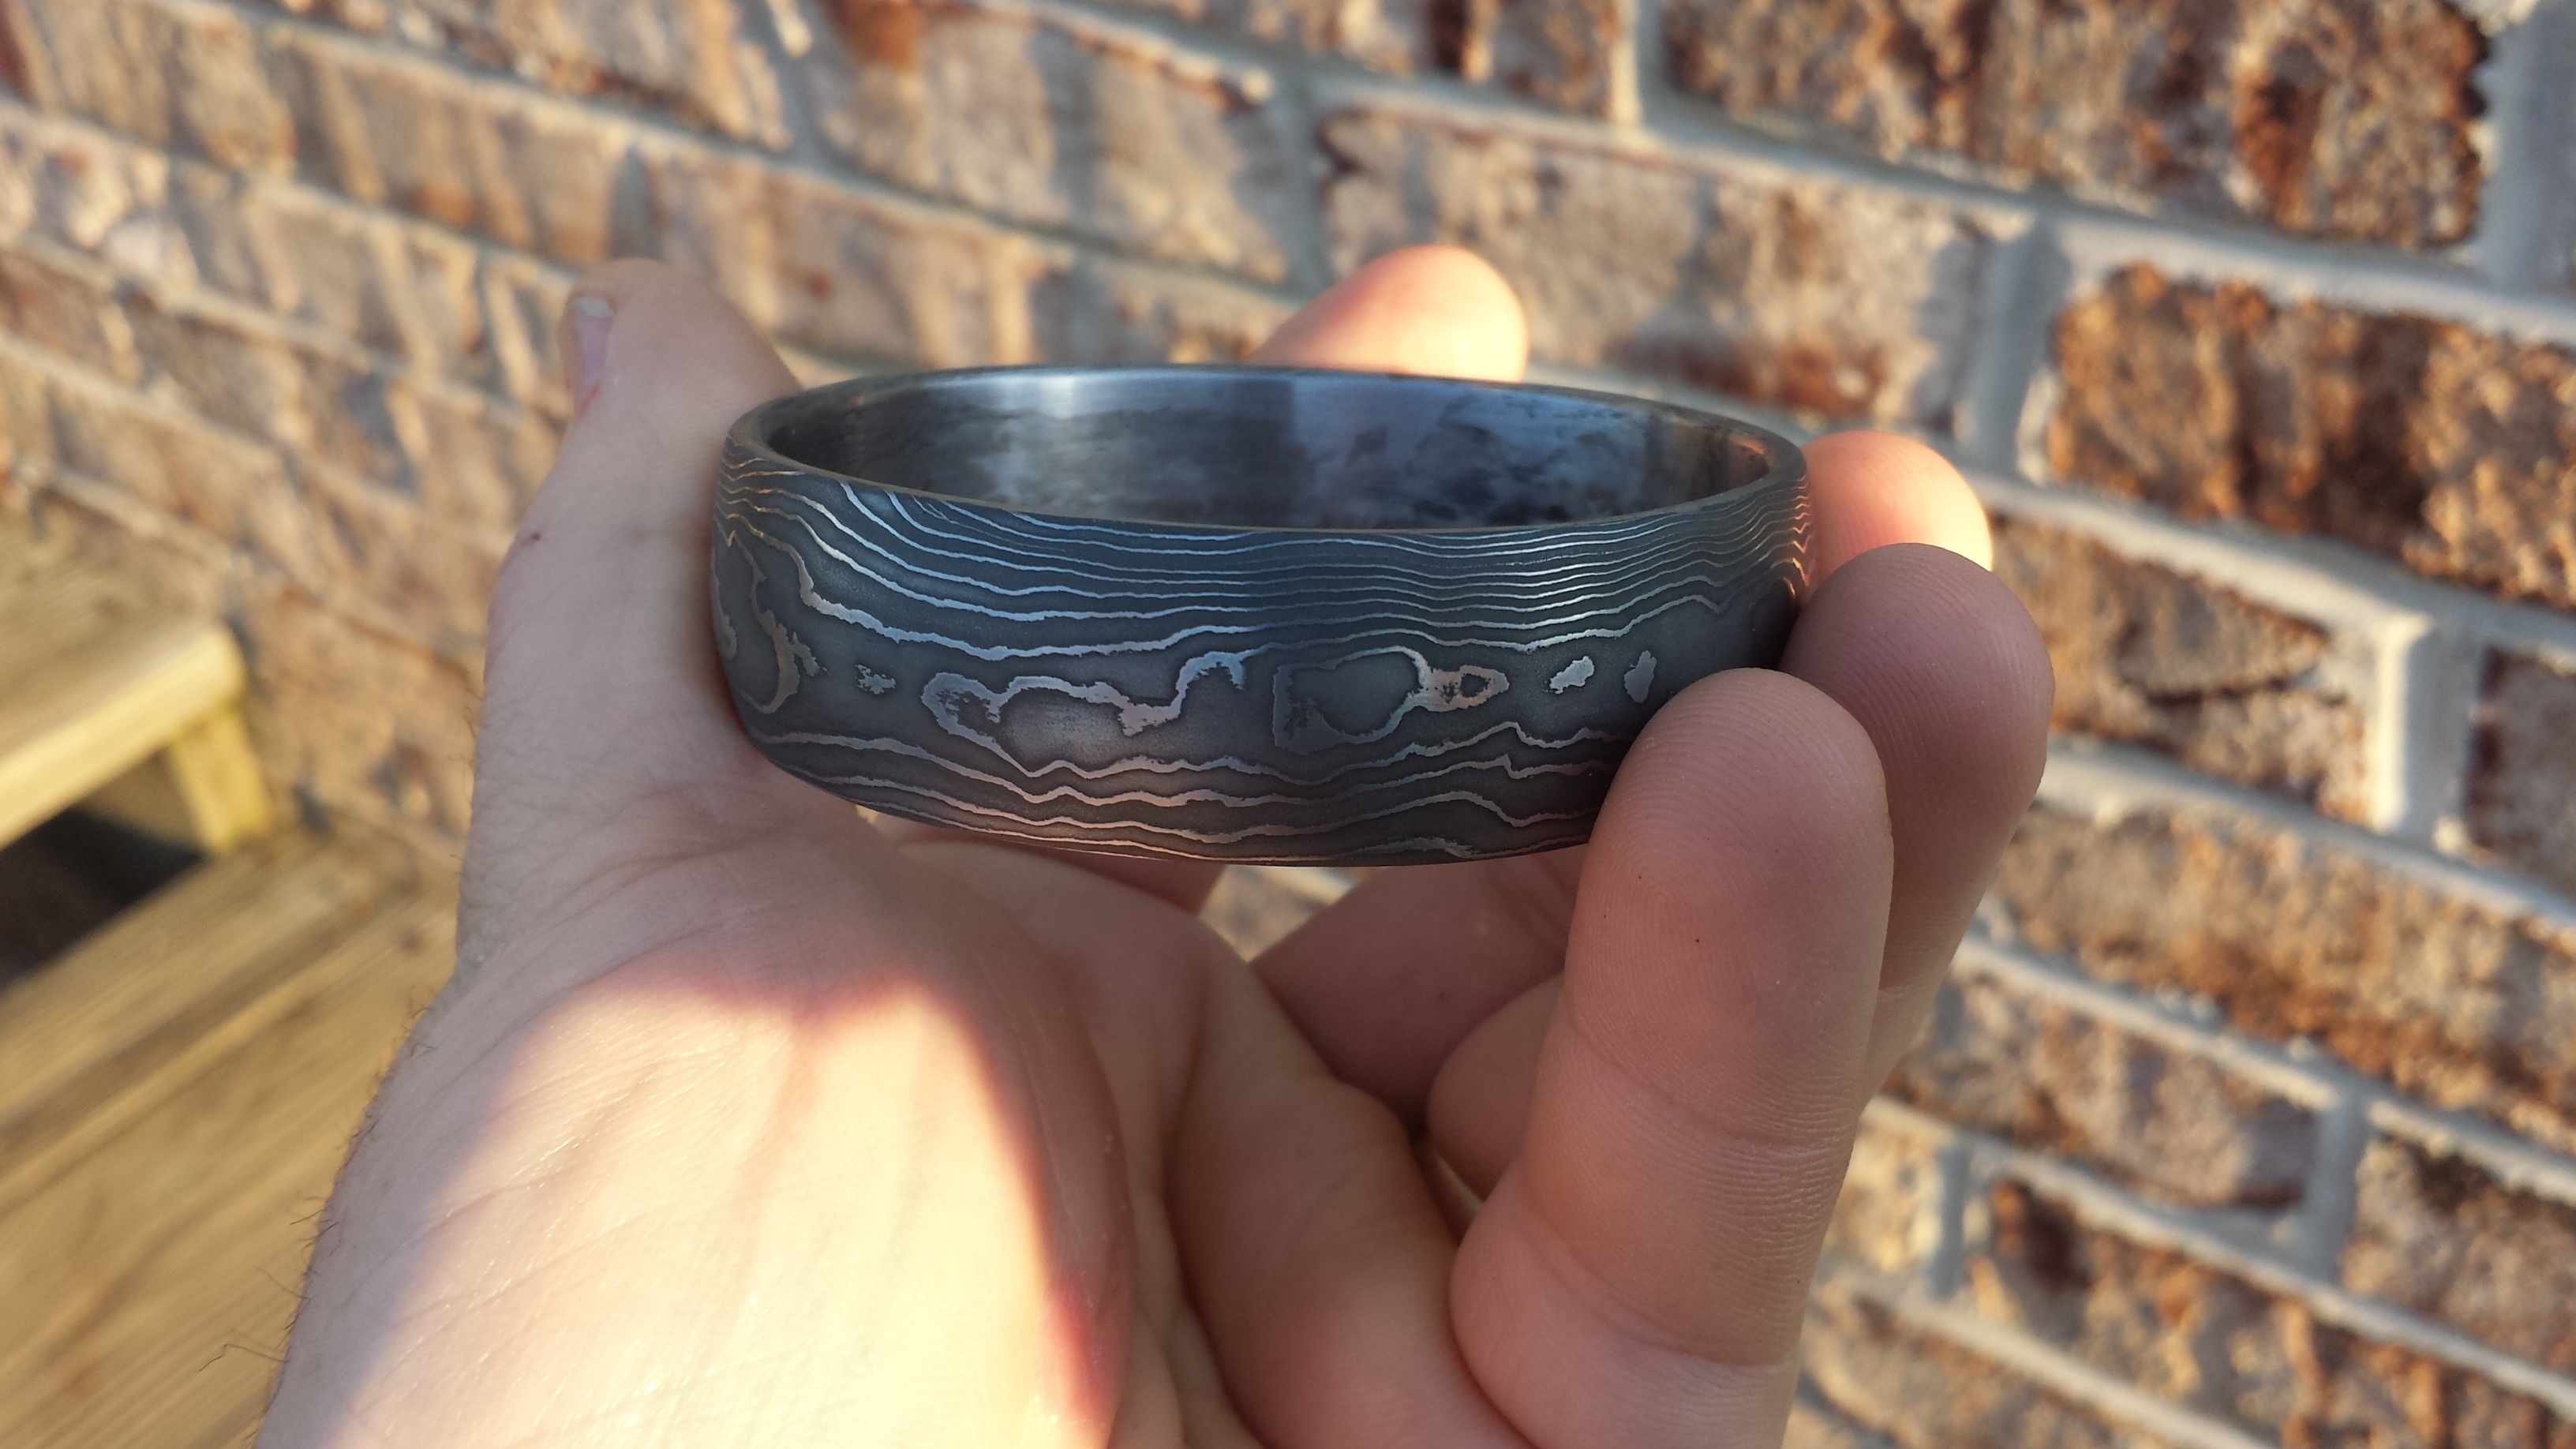
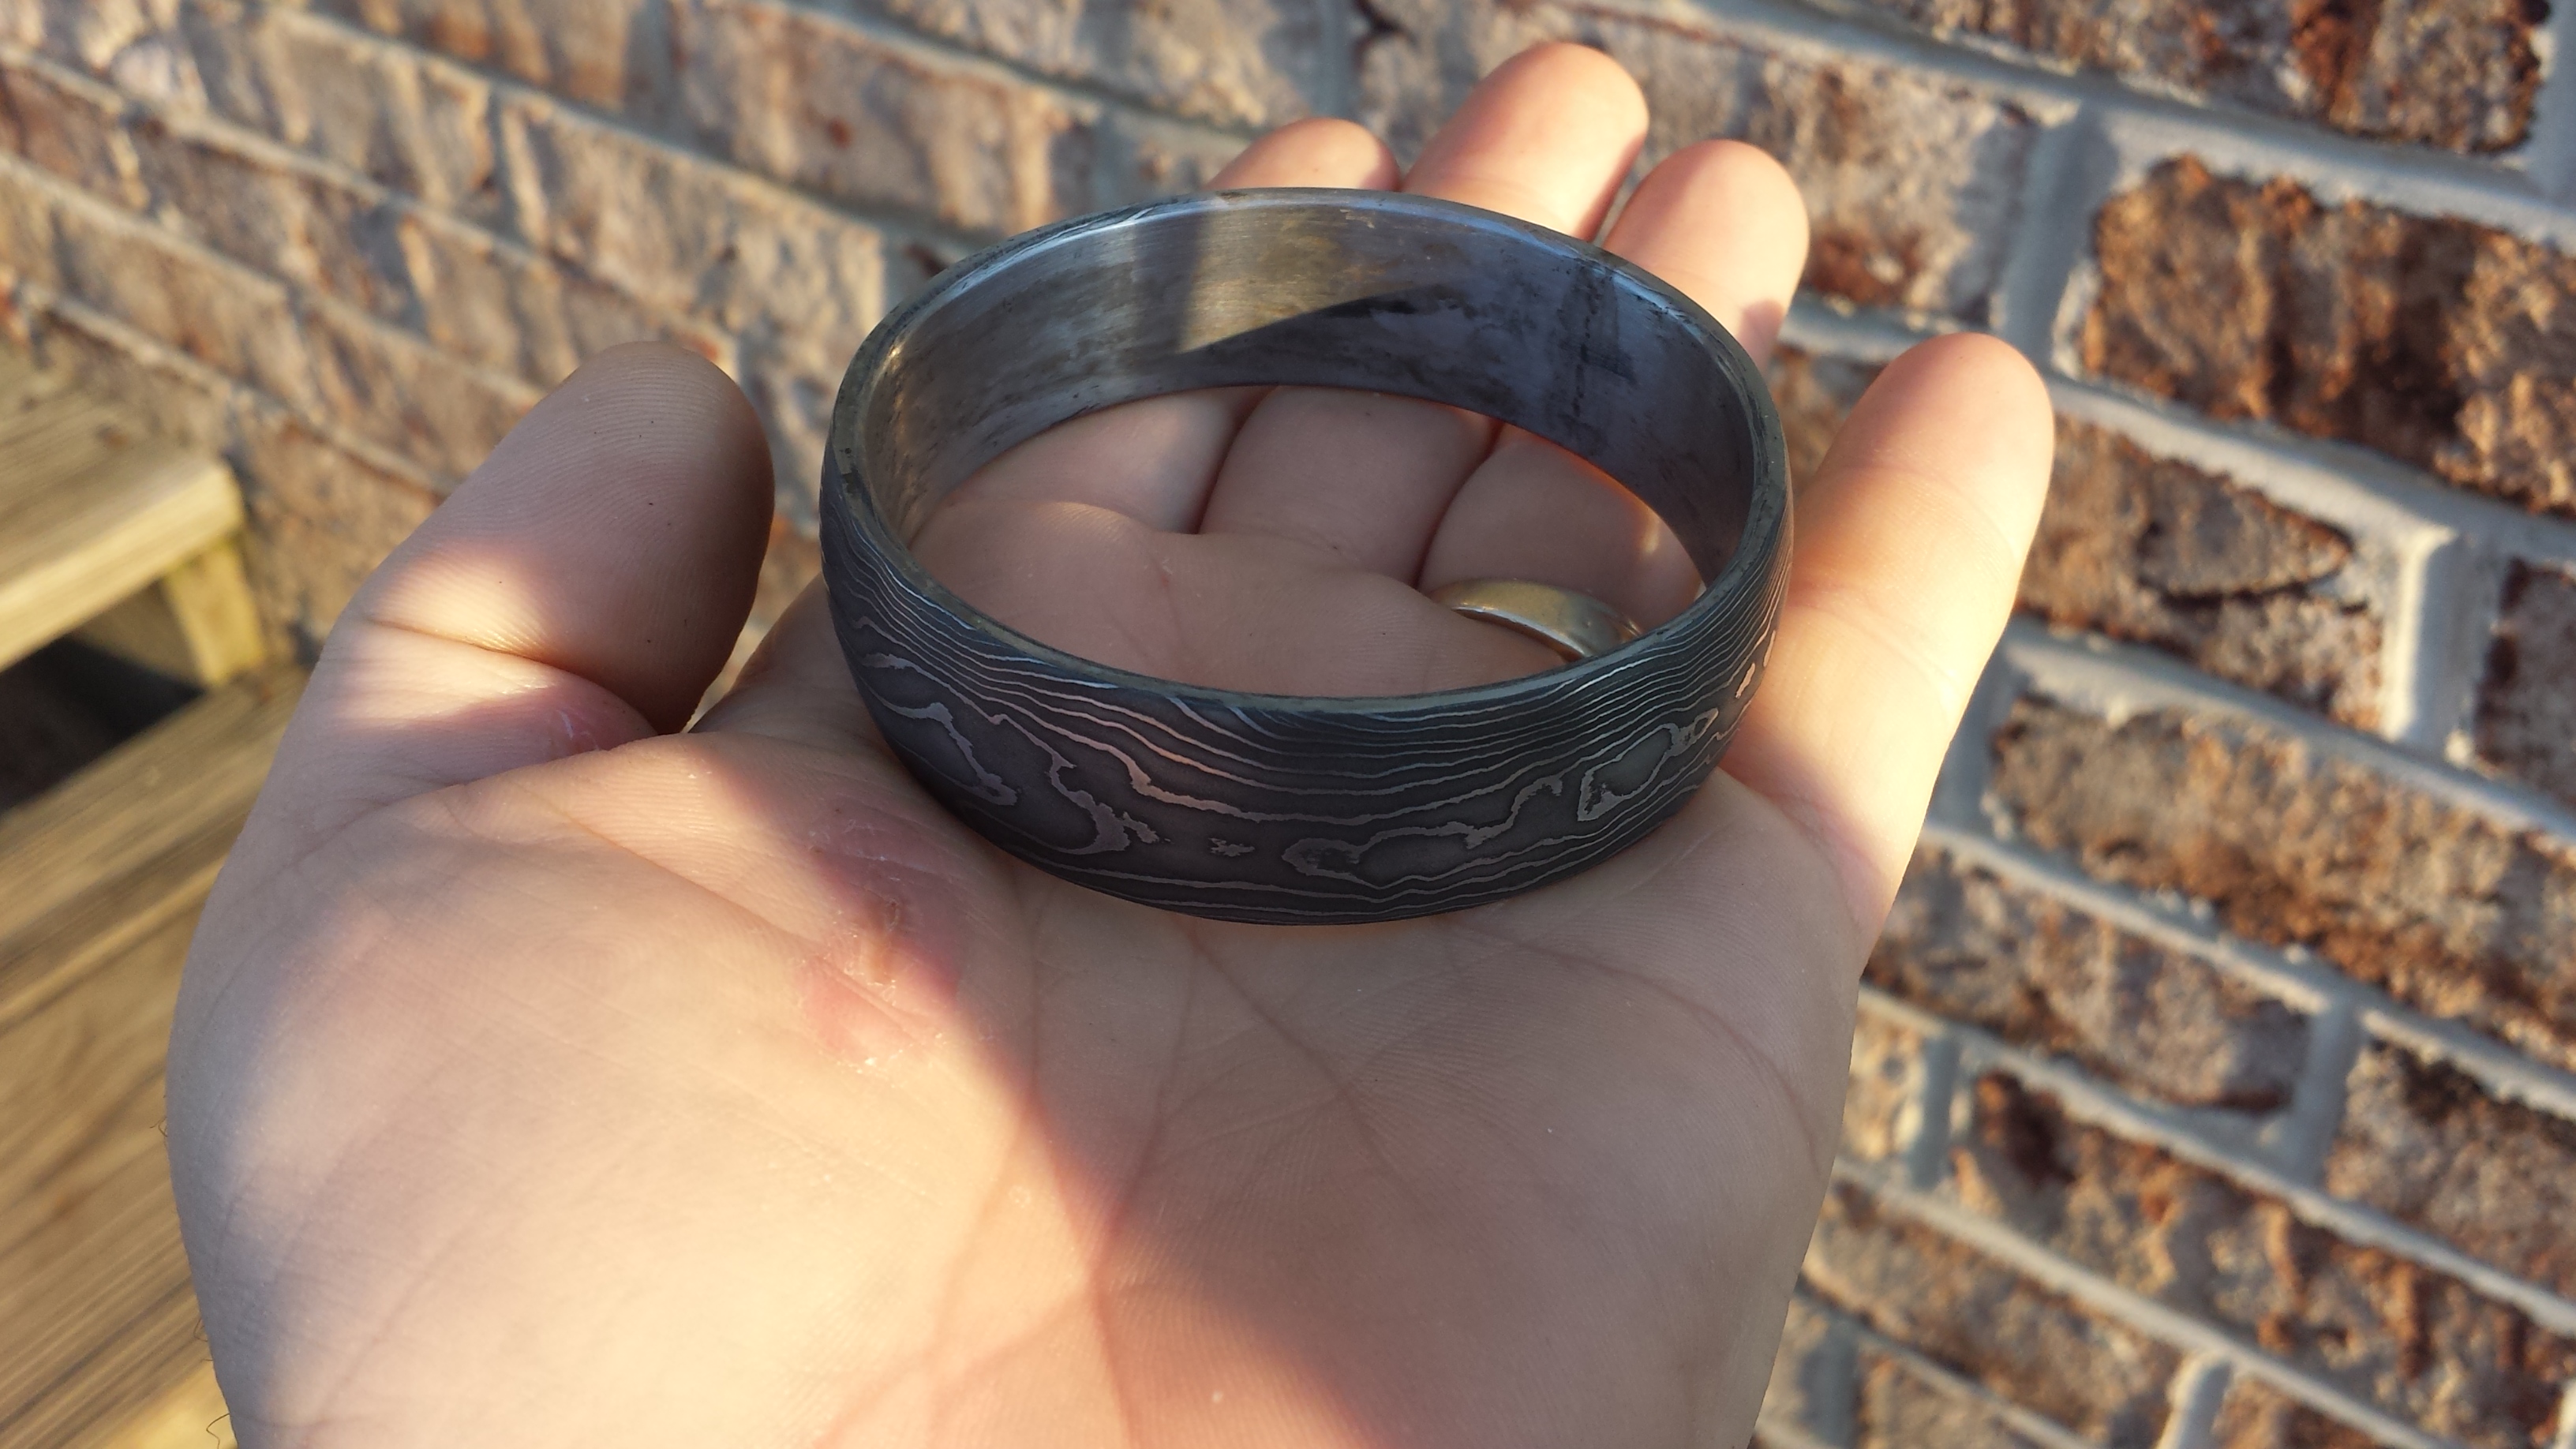
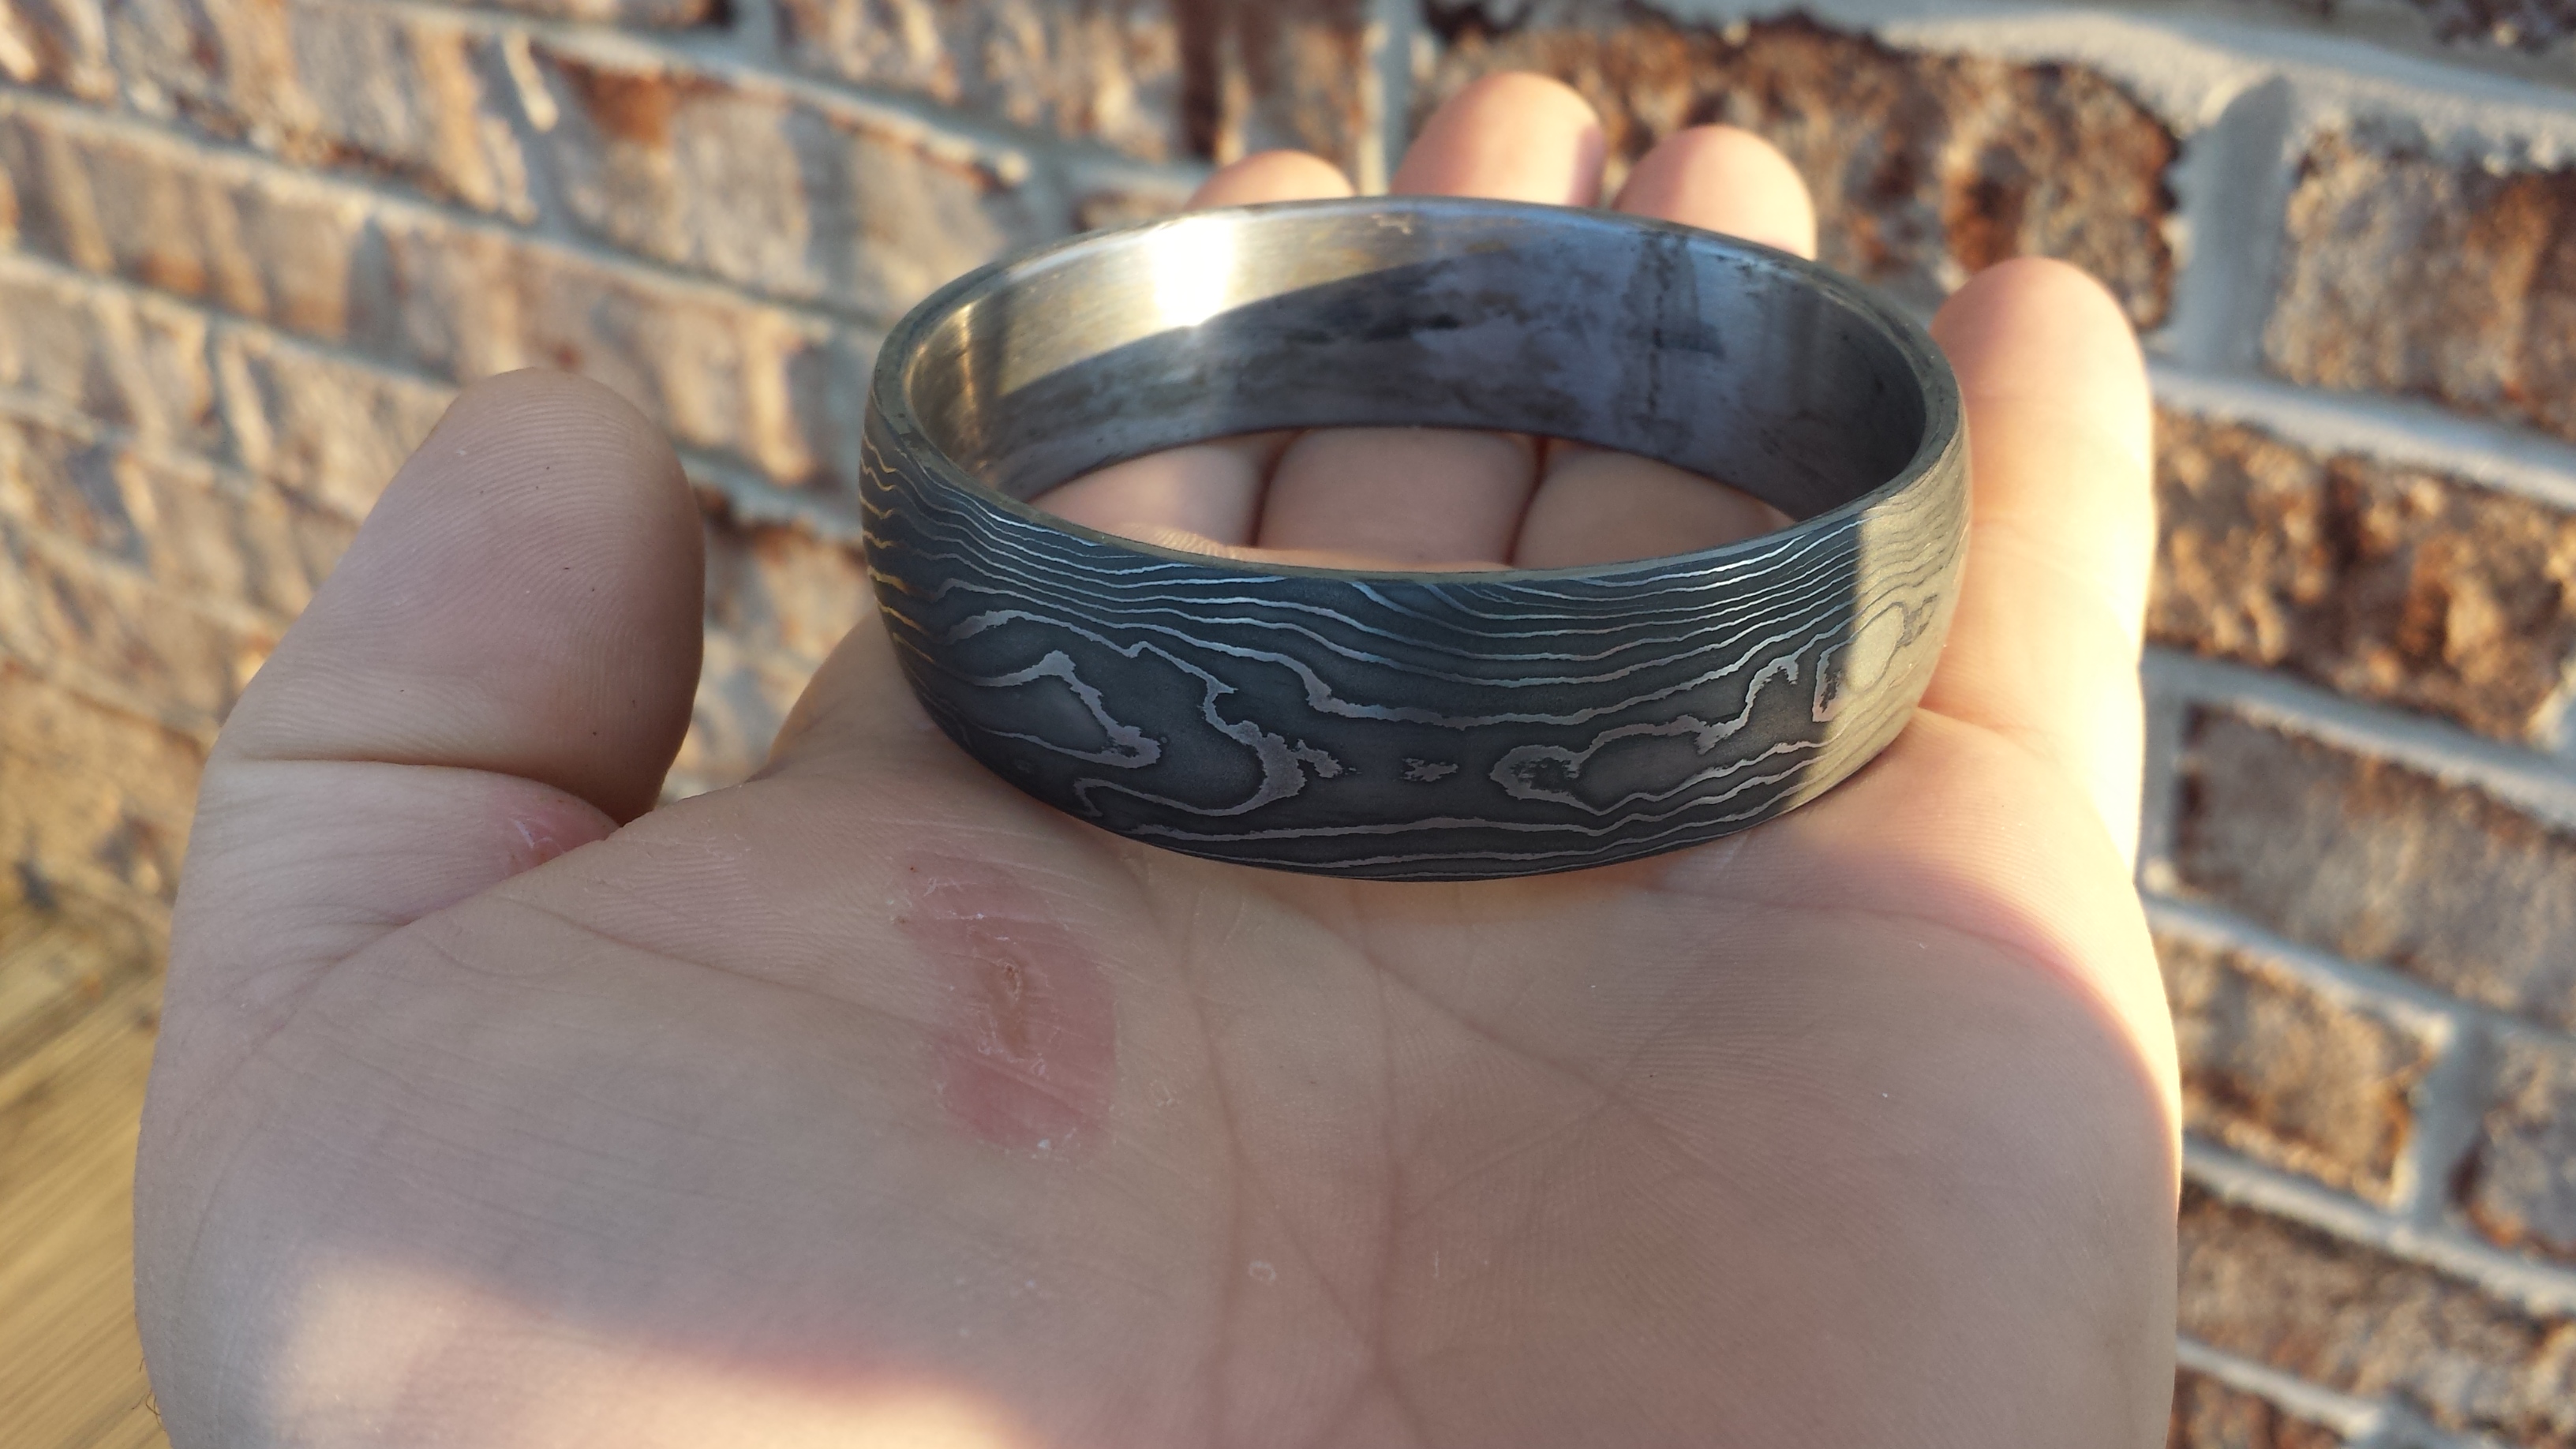
After some more grinding to add a radius, a good polishing, and an etching, the ring looks like this.

This is not quite done yet. I’ll be working with a friend and jeweler Lauren Schott in order to learn how to add a silver lining to these. It will be a nice finishing and visual touch (as the silver lining will wrap slightly around the side edges of the rings) as well as reduce the risk of the steel reacting with the skin of the wearer. It doesn’t happen to everybody, and it happens less so when steel is consistently worn in contact with skin oils, etc., but some folks do have issues with it. Since I like to make the highest quality and most useful things I can, it’s simply the right choice for me to take this extra step.
I have a couple more of these that need to be finished and prepared for lining. Once they are cleaned up I’ll post pictures. More pictures will come after they are lined.
Comments
Actually back in the shop! — No Comments
HTML tags allowed in your comment: <a href="" title=""> <abbr title=""> <acronym title=""> <b> <blockquote cite=""> <cite> <code> <del datetime=""> <em> <i> <q cite=""> <s> <strike> <strong>